

Labists ET4 3D Printer review
REVIEW – One benefit of being forced to spend more time around the house during the pandemic is that now I’m able to jump back into some hobbies I’ve been neglecting. 3D printing is a hobby I really enjoy, but it can be costly and, before the pandemic, I never seemed to have enough time for it. Luckily, over the last few years, 3D printers have been coming down in price while simultaneously providing more functionality. The $500 3D printer I bought in 2016 pales in comparison to most of today’s sub $300 printers. The Labists ET4 3D Printer is one such affordable printer with impressive print quality and a good amount of features. At $249, the Labists ET4 is a good value, but some major issues with its upgradeability, setup, and support have me questioning whether this would be a wise choice for 3D printing novices or pros alike.
What is it?
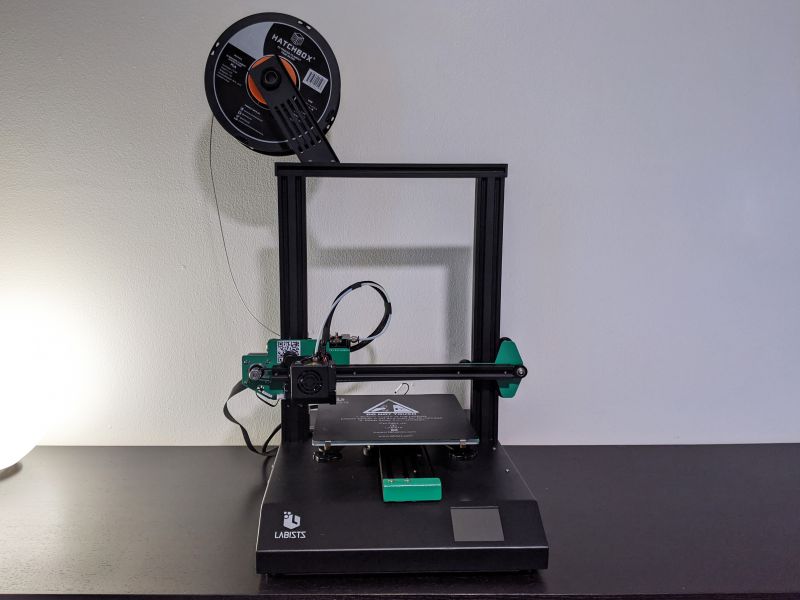
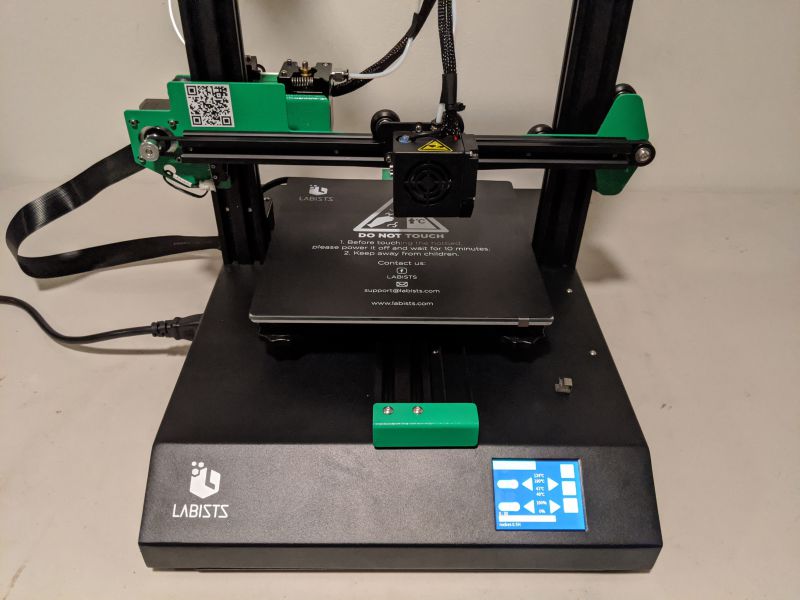
The Labists ET4 3D printer is an assembly-required, Cartesian, FDM printer that uses 1.75mm PLA or ABS filament. The ET4 supports SD Card and USB printing and is controlled via a built-in LCD touchscreen. The ET4 has some great features like auto-leveling, broken filament detection, and a resume printing option. But, aside from an accent color change, the Labists ET4 is a direct rebrand of the ANET ET4. Despite numerous attempts on my part, the people at Labists were never able to explain exactly what makes their version of the ET4 superior to the much better supported ANET version. Nevertheless, I’ll review the Labists ET4 based on its performance during my weeks of testing.

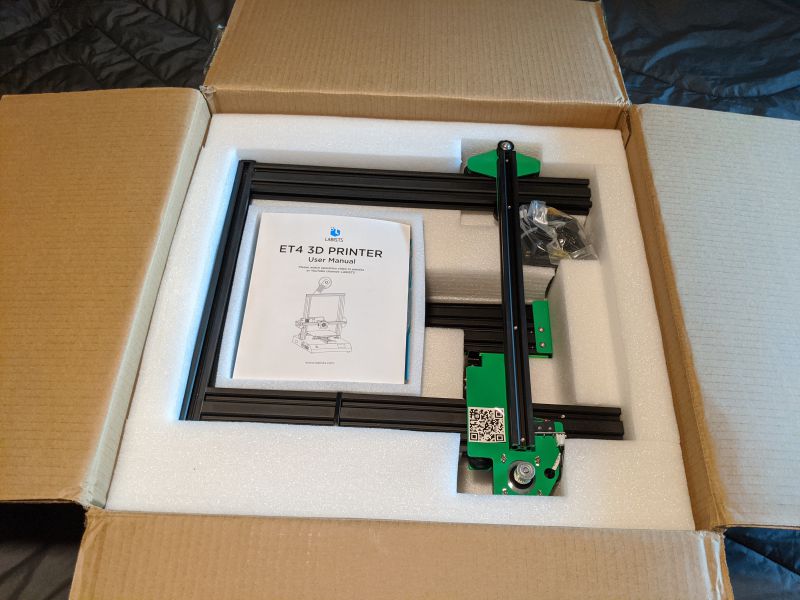
The Labists ET4 arrives in a very big box with lots of foam cutouts protecting the delicate parts inside.
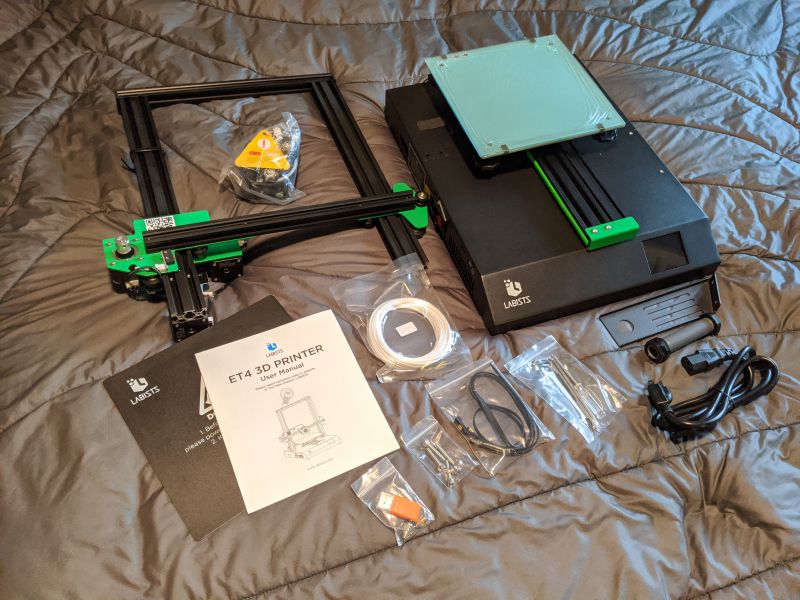
What’s in the box?
- Labists ET4 Platform
- Metal Frame
- Extruder
- Filament Rack
- Filament Holder
- Power Cord
- Roll of PLA Filament
- USB SD Card Reader
- SD Card
- User Manual
- Allen Keys
- Connecting screws and hardware
Hardware specs
- Technology: FDM (Fused Deposition Modeling)
- Print Filament: 1.75mm PLA, ABS
- Nozzle Diameter: 0.4mm
- Max Printing Speed: 150mm/s (Recommended speed: 30-60mm/s)
- Max Nozzle Temperature: 250℃
- Max Hotbed Temperature: 100℃
- Printing Size (Build Volume): 220mm x 220mm x 250mm
- Unit Dimensions: 440mm x 340mm x 480mm
- Unit Weight: 7.4 kg
- Layer Thickness: 0.1mm – 0.3mm
- Precision: ± 0.1mm
- Compatible Systems: Windows, Mac
- Connection: USB, SD Card
- File Format: STL, G-code
- Recommended Slicing Software: Cura
- Power Input: 100- 240V AC
- Working Temperature: 10°C – 40°C
- Working Humidity: 30% – 90%
Setup
Before we get into the features of the Labists ET4 and start making fun 3D prints, there’s a good amount of setup and assembly that has to be done first. Unfortunately, the included assembly instructions are worse than useless. I review every product by always following the instructions provided by the manufacturer. I assume that the provided instructions are what the basic user would use and that those instructions would be clear and helpful. That is not at all the case with the instructions included with the Labists ET4. There are skipped steps, unclear directions, and useless diagrams. The manual points to an “operation video” on YouTube that is just as confusing. If you’re going to point to a YouTube video, then don’t include incorrectly printed directions at all. I’ve reviewed several excellent products that do just that, right when you open the box they simply point you directly online to frequently updated, expertly designed instructions and guidance. The people at Labists don’t believe in any of that.
Every interaction with Labists support and company representatives was a maddeningly frustrating experience in futility. They were purposefully evasive with questions as simple as “Where can I find links for firmware updates?” One rep told me to never update the Labists ET4 with the ANET ET4 firmware because it will damage the unit, while a different rep provided me with a link to the ANET website when I asked for firmware resources. As a result, for assembly I did a lot of Googling and found several helpful setups videos and tutorials, many of them for the ANET ET4.
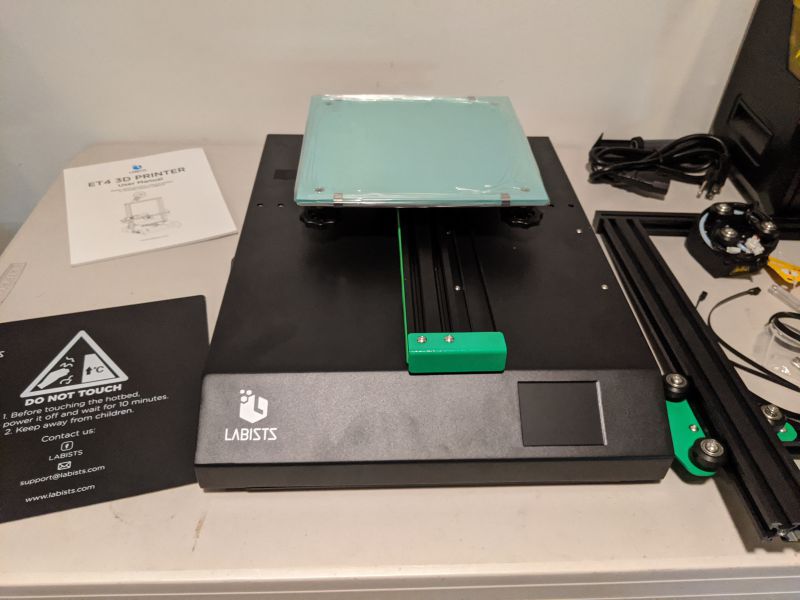
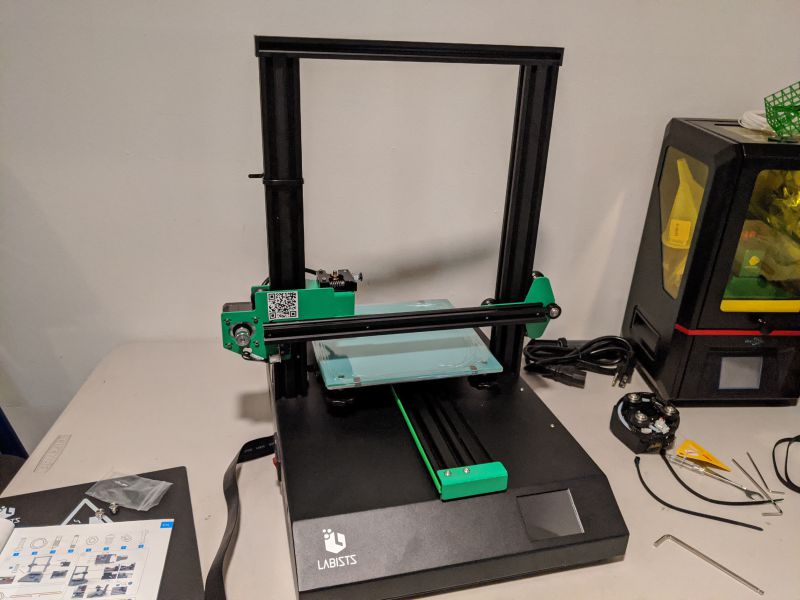
I won’t detail each and every step of the assembly, but the first most important step involves attaching the upper metal frame to the platform base. By flipping the base over you can find the holes the upper frame screws attach to. This is the most difficult part of the assembly since the frame is pretty unwieldy and the base is quite heavy.
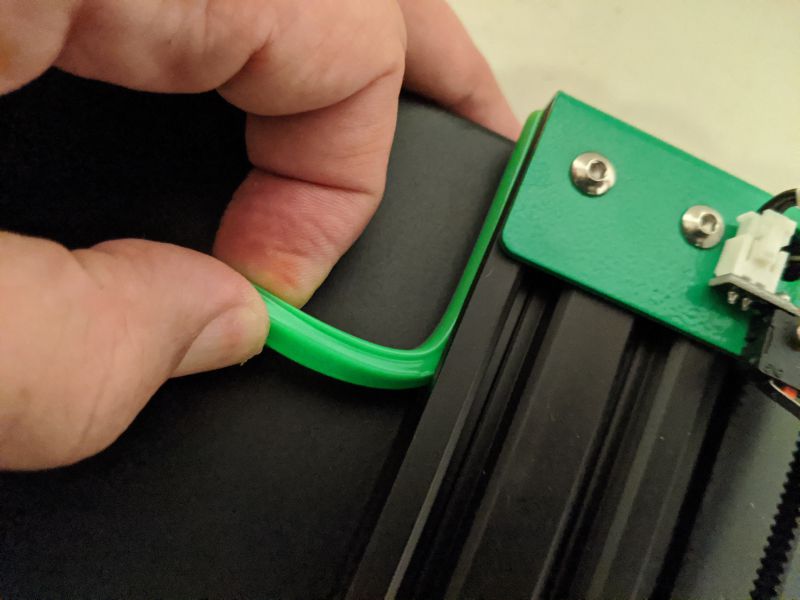
Once the frame is attached to the base, the rest of the assembly is pretty straightforward, as long as you have decent instructions. But one of the key steps, that is surprisingly not mentioned at all in the instructions, is the removal of the stabilizing plastic strips on the base rails.
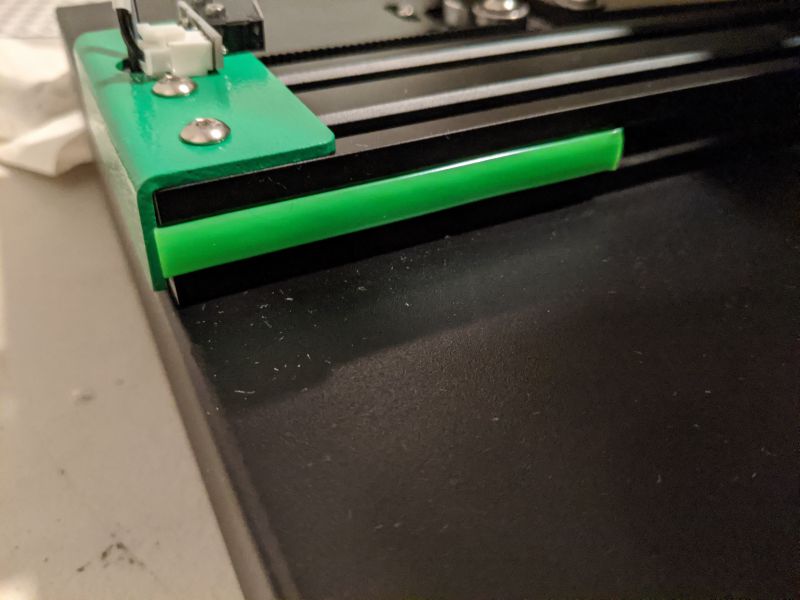
If you get through the whole assembly and then try to run the printer setup without removing these strips, you can seriously damage the unit.
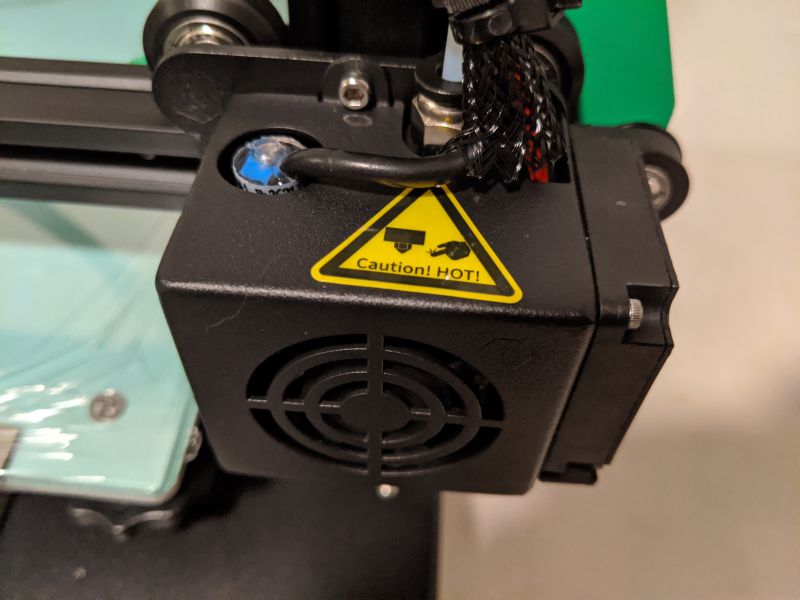
After removing the strips, the printer head module can be attached to the top rails.
There is a long rubber drive belt that controls the printer head module and needs to be connected around the drive pulleys.
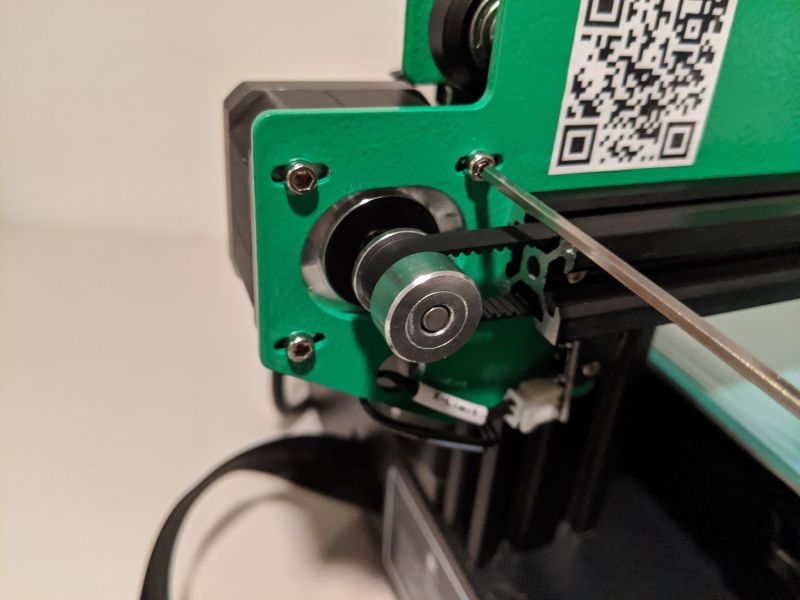
After running the belts over the pulleys and connecting the tabs underneath, the tension on the pulleys needs to be adjusted and tightened using the included Allen Key.
Once the belt is tightened, the printer head module should be able to move freely back and forth along its track.
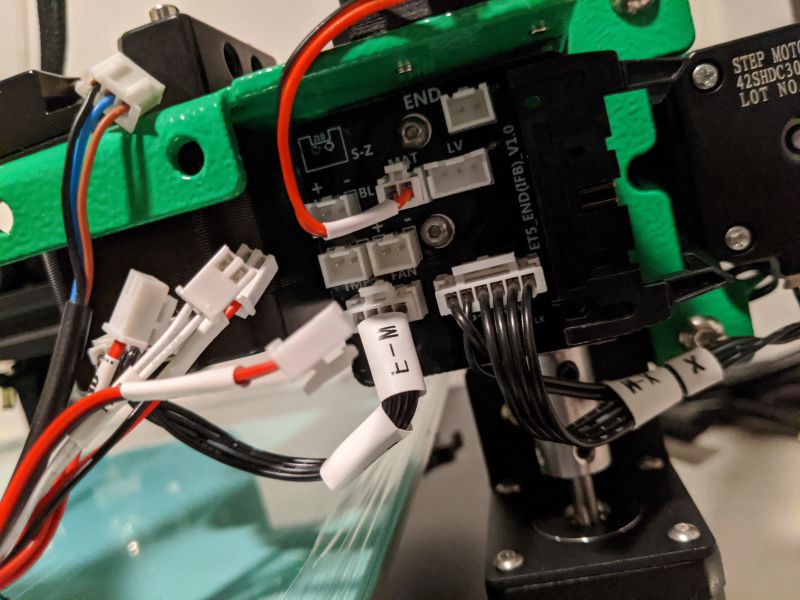
Now it’s time to connect all the wires. The connection board on the back of the ET4 is a little overwhelming, but luckily everything is labeled, albeit in very tiny type.
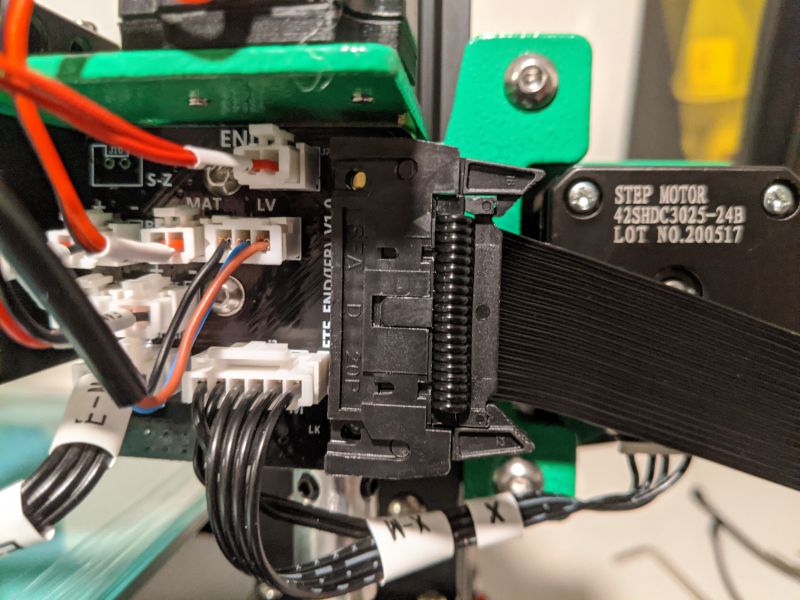
Make sure each connector, as well as the main controller ribbon cable, finds its corresponding plug and that the connections are solid and secure.
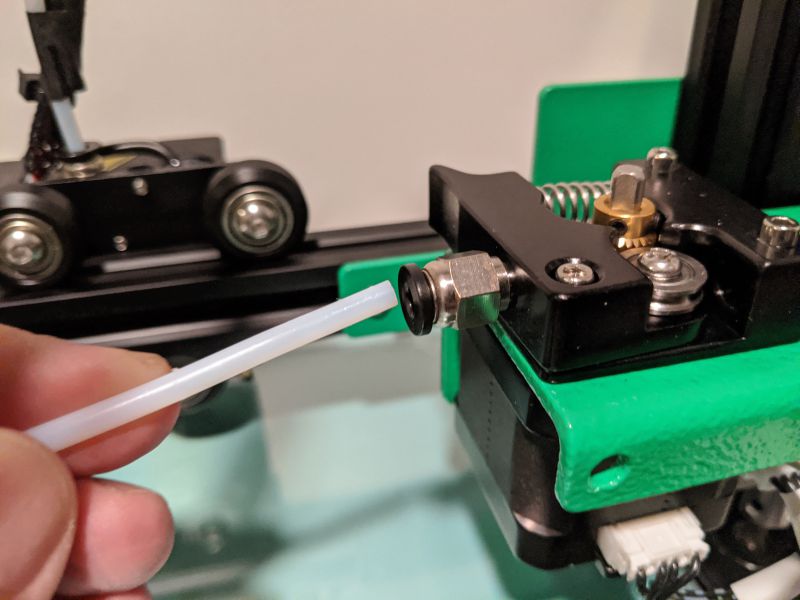
After all of the wires are plugged in, connect the supplied Bowden Tube to both the printer head module and the filament feeder. Both are simple push-in connections.
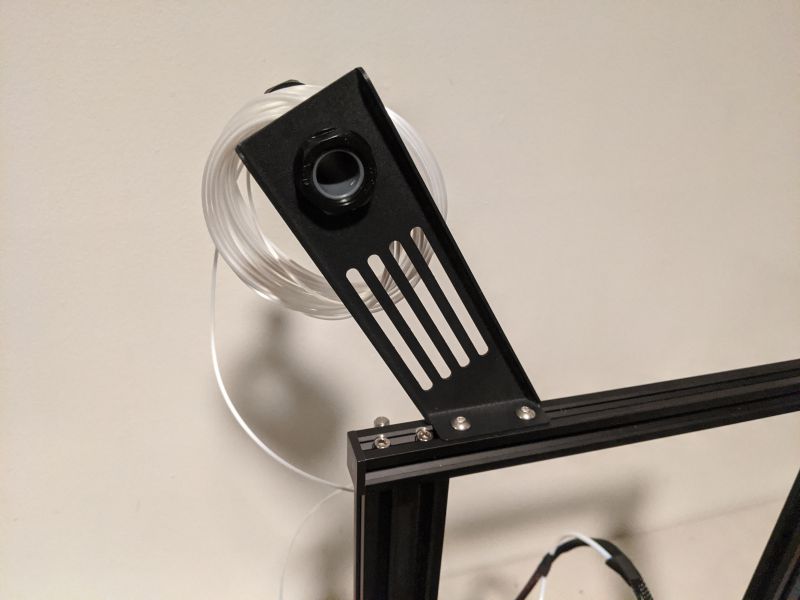
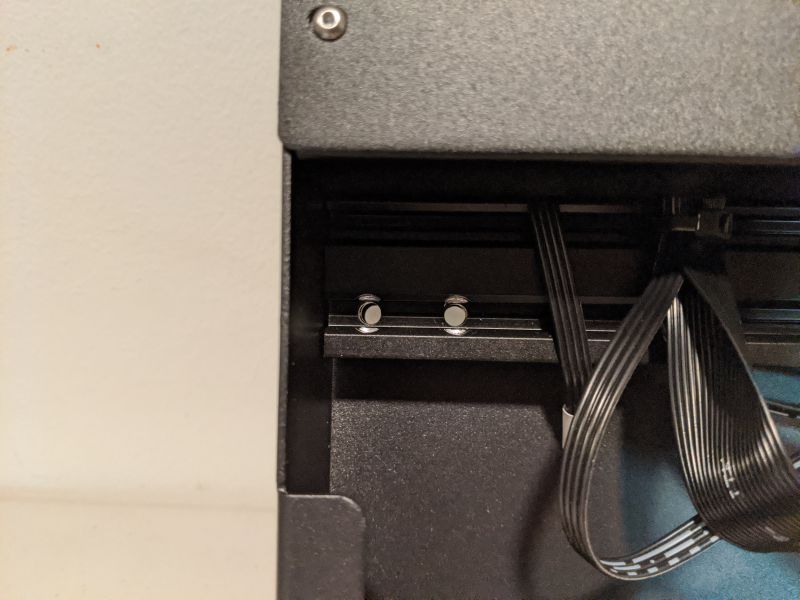
One of the last assembly steps is to affix the filament holder to the top of the unit’s frame by setting two screws into the top railing.
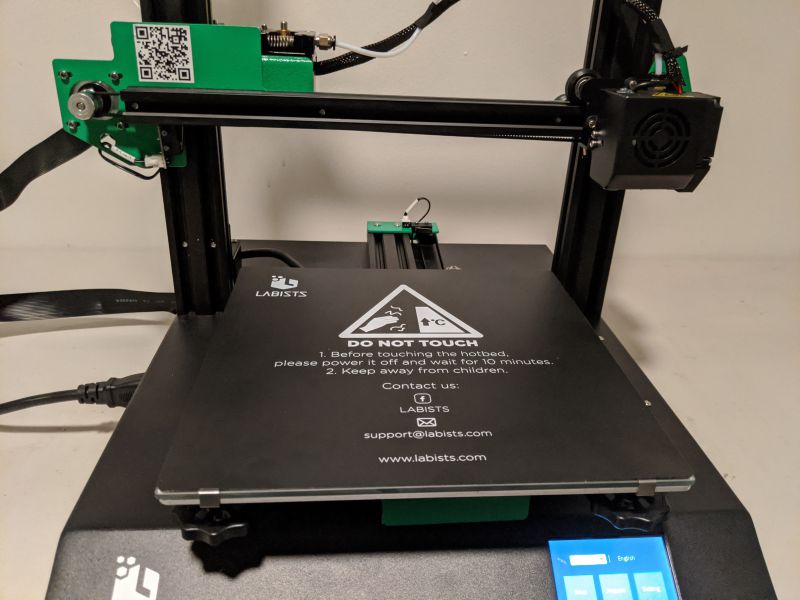
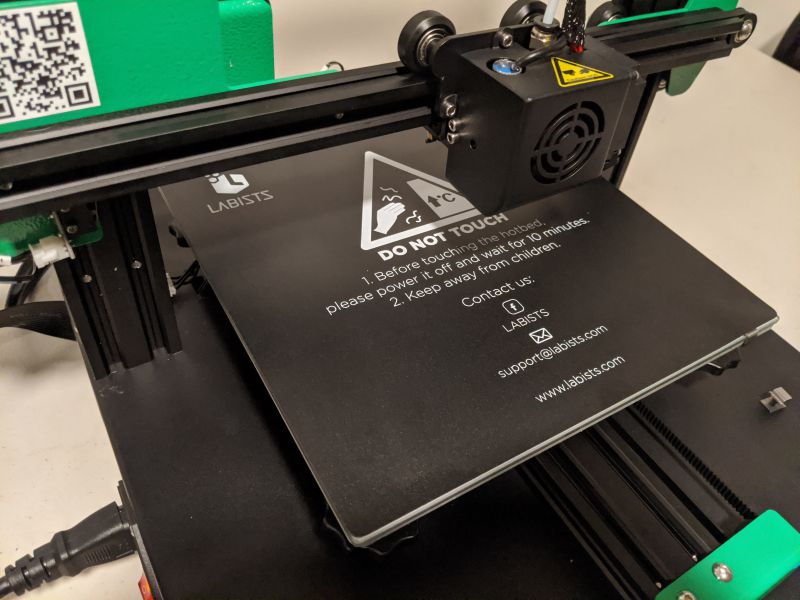
Lastly, carefully affix the included plastic cover to the glass print bed by peeling the backing off of the cover’s sticker. Once the bed is protected, you’re ready to start the fun process of calibrating.
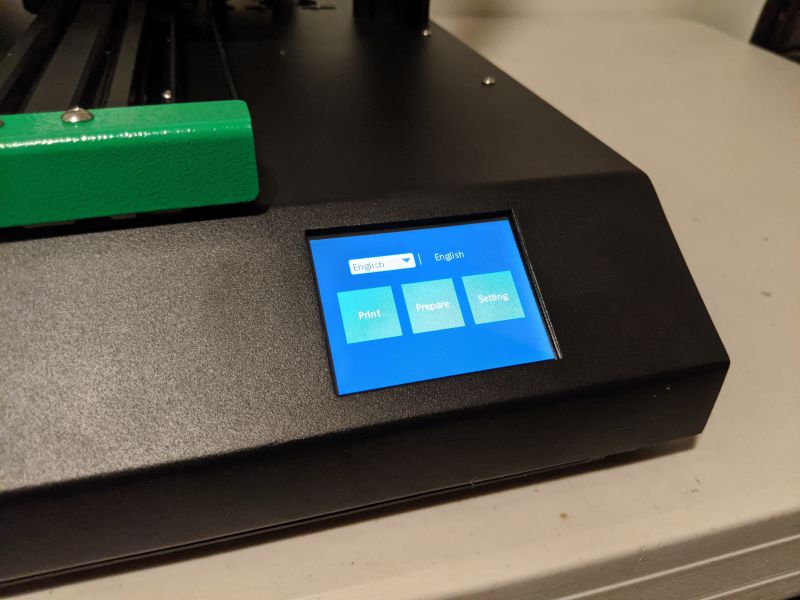
The Labists ET4 is controlled via a small 2.8 inch touchscreen. The user interface is poorly designed and incredibly unintuitive. As a result, you’ll find yourself frequently making incorrect choices, accidentally backing out of processes, and generally being confused while trying to operate the ET4.
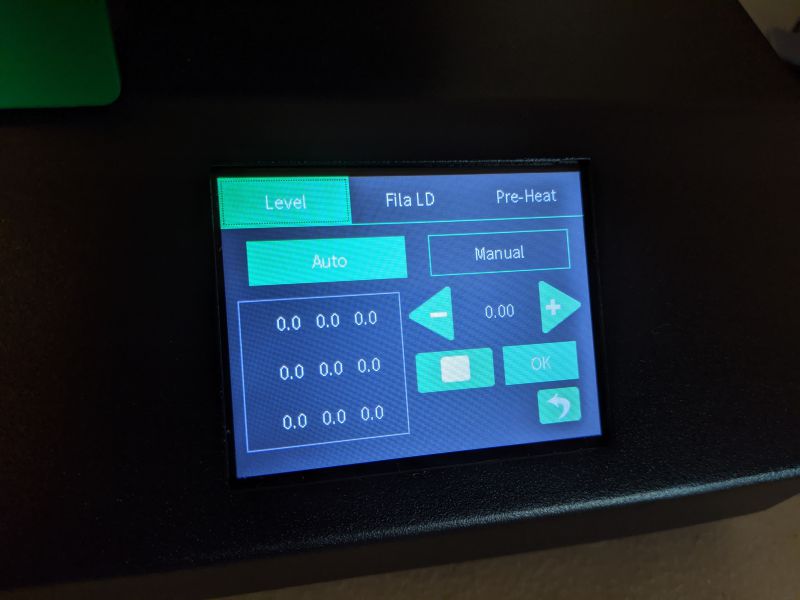
One of the few good things about the ET4 is its auto-leveling feature. This feature ensures that the nozzle is always a uniform distance from the printer bed, which alleviates a lot of issues inherent with 3D printing.
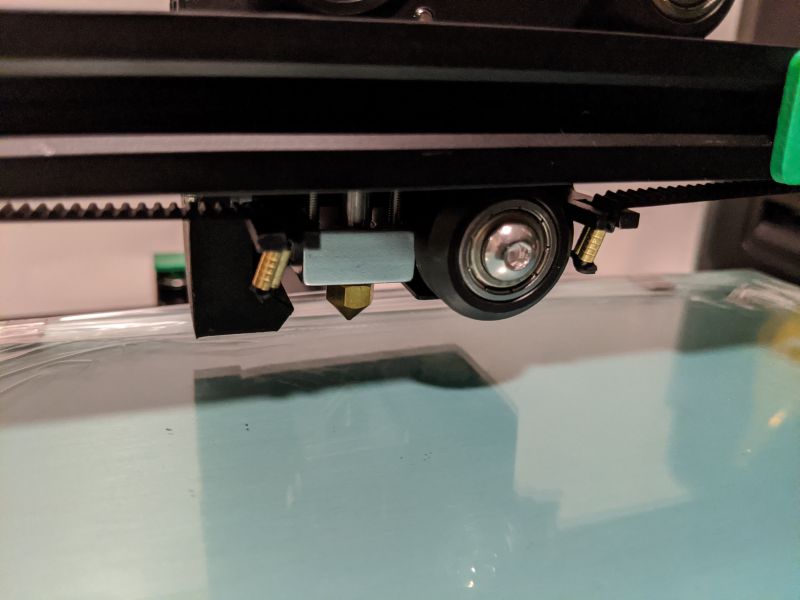
Usually, this is done manually, by moving the print head around the printer and using a piece of paper to gauge its distance from the bed. You can choose to do it that way with the ET4 as well, but it’s so much easier to let the printer do it for you. Once you activate the auto-leveling feature, the printer will automatically check the nozzle distance from the bed at nine different locations. Once those distances are known, the ET4 will be able to compensate for them while printing, making sure that every level of your print is the same distance from the bed.
Performance
Now that the ET4 is assembled and calibrated it’s time to starting printing. I’ll assume a basic level of 3D printing knowledge as I proceed. First we’ll load some filament into the ET4.
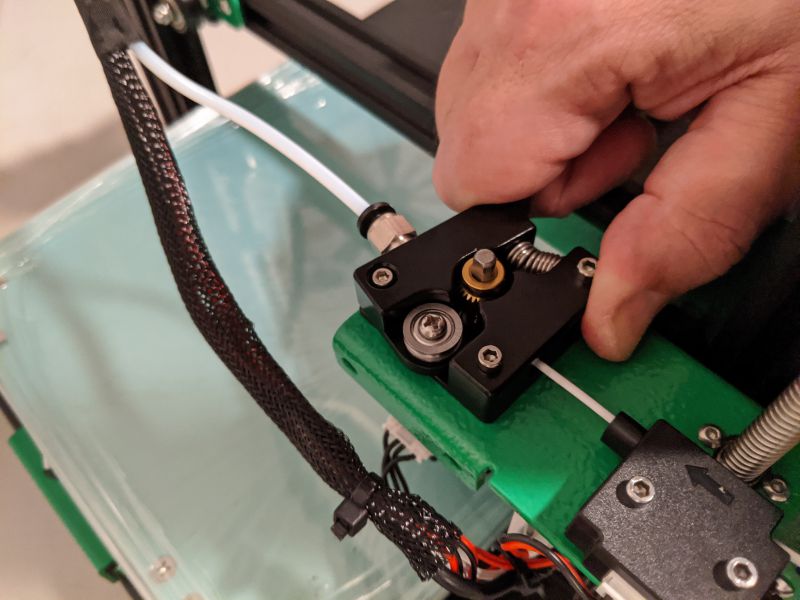
The Labists ET4 uses 1.75mm PLA or ABS filament. It comes with a small amount of white PLA, so I used that for my first test print. Pinch the spring on the filament feeder and push the filament in through the filament detector and into the Bowden Tube.
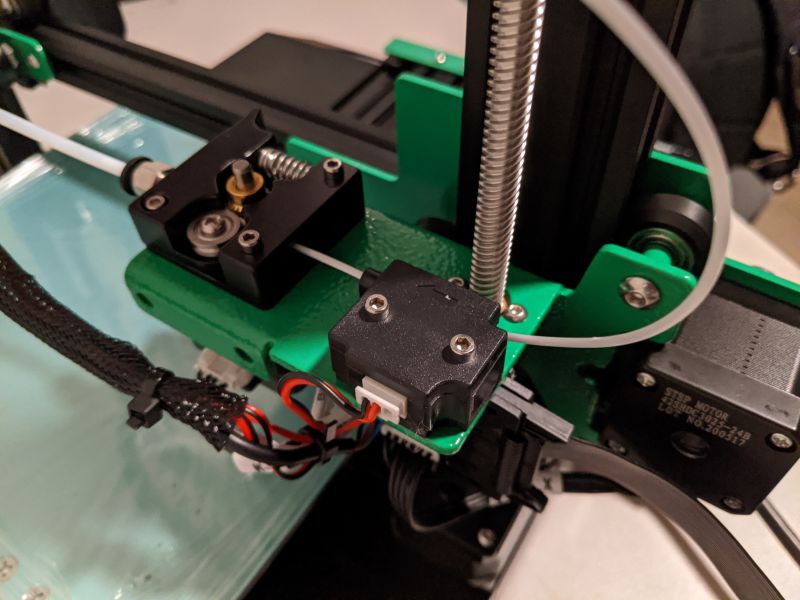
The filament detector is another helpful feature of the ET4. This little black box that sits to the right of the feeder has a small electric eye inside that can detect if the printer filament has broken. If it detects broken filament, it will stop the printer and alert you. This is great because most low-end 3D printers have no idea whether filament is being fed into the unit or not. So if the filament breaks, the printer will dutifully continue “printing” until it thinks the job is done. Because the ET4 has both filament detection and a resume printing function, if the filament does break, you can load it back in and get your print back on track.
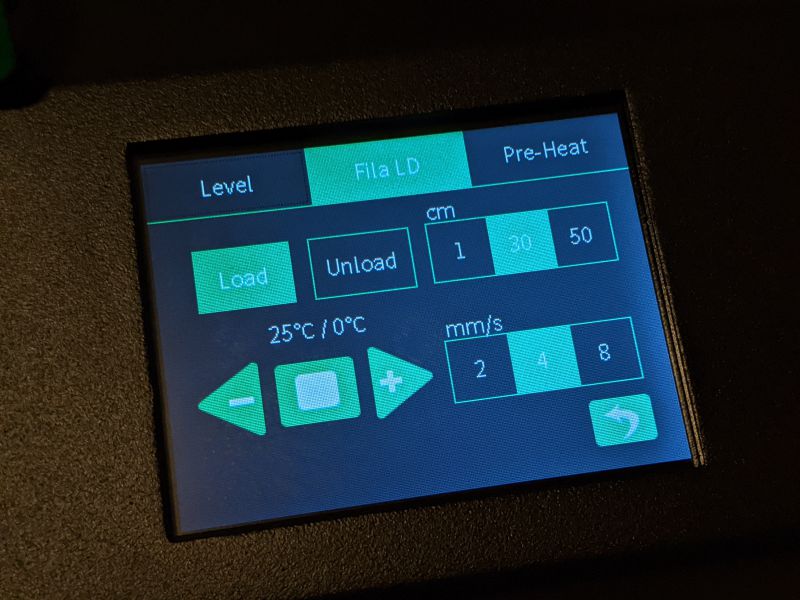
After the filament is fed into the Bowden Tube, use the load screen to advance the filament up into the printer head.
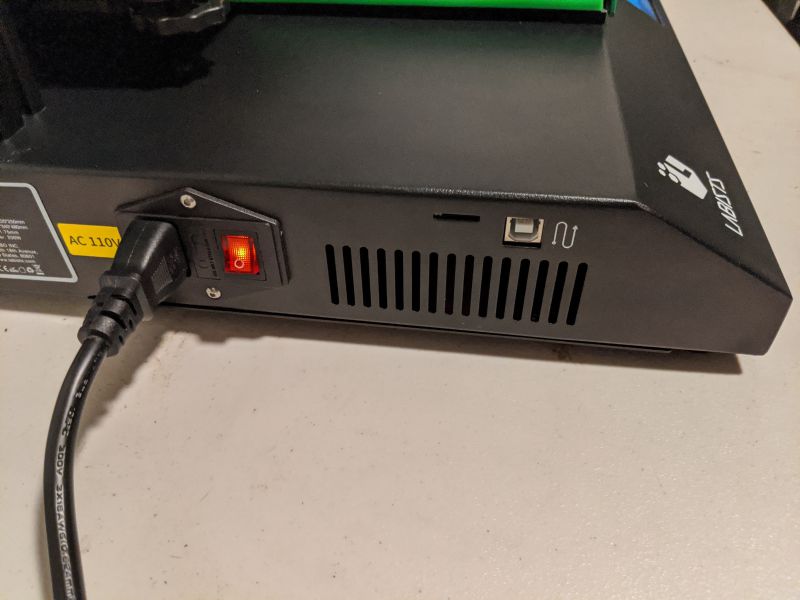
The ET4 can load print models via USB or SD Card. Both ports are located on the left side of the unit next to the power switch.
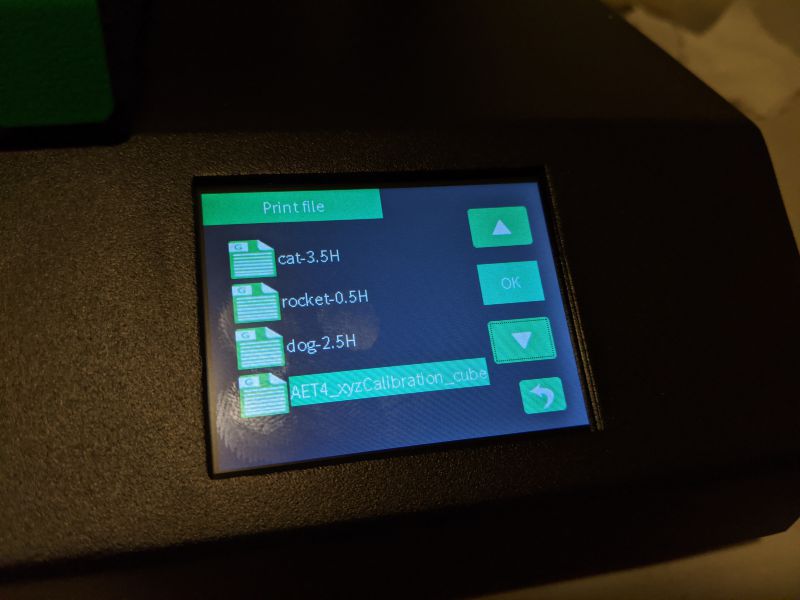
When using an SD Card, navigate to the file menu and select the model you previously loaded onto the card and hit OK.
The ET4 will spring to life and start printing out your choice. The ET4 comes with an SD Card that has several test models on it, but in line with my other experiences with Labists, none of the models work properly and I finally had to reformat the SD Card and load my own test models on to it.
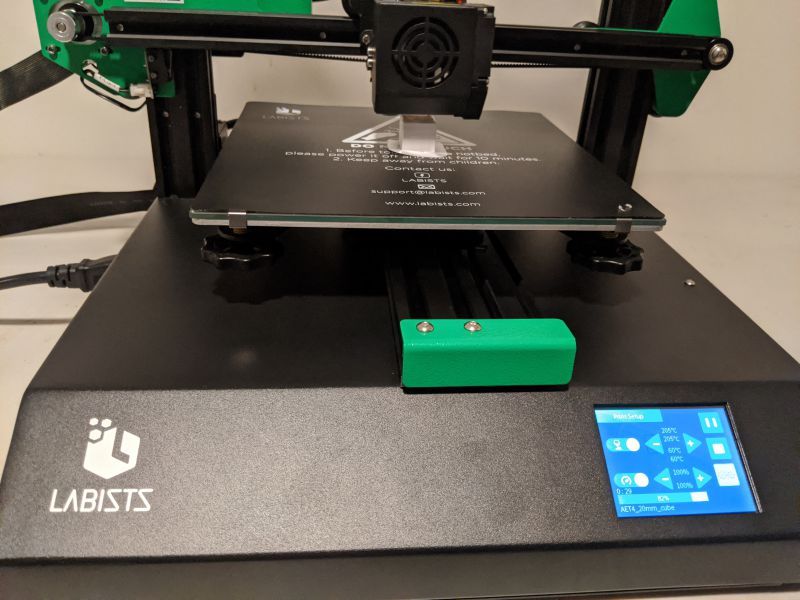
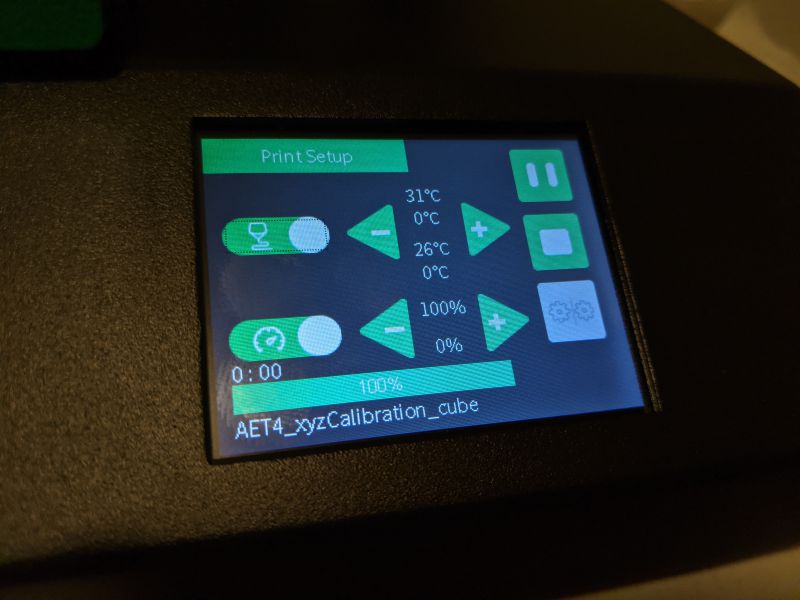
The ET4 isn’t particularly loud compared to other printers in its class and, depending on the model complexity and print speed, it prints rather efficiently. The touchscreen has a progress indicator so you can follow along with your print.
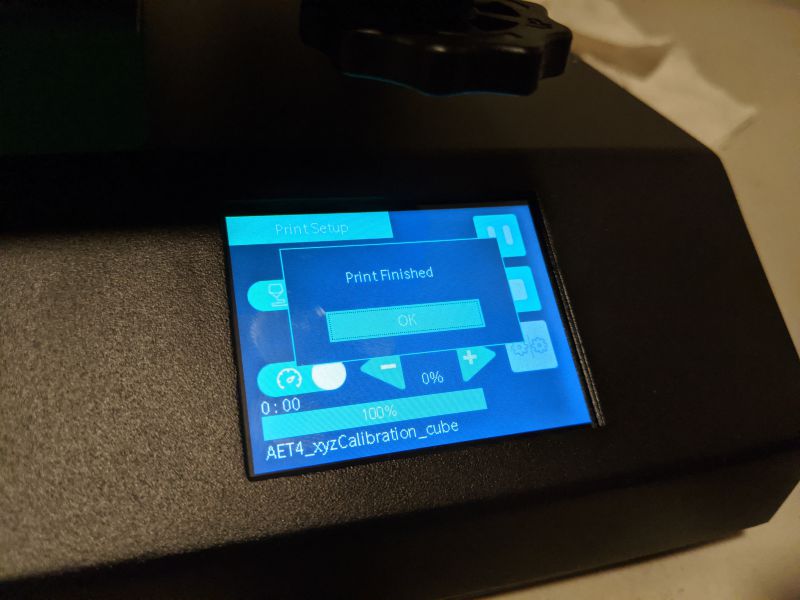
When the print has finished, the printer head and bed will home themselves and the touchscreen will let you know your print is ready.
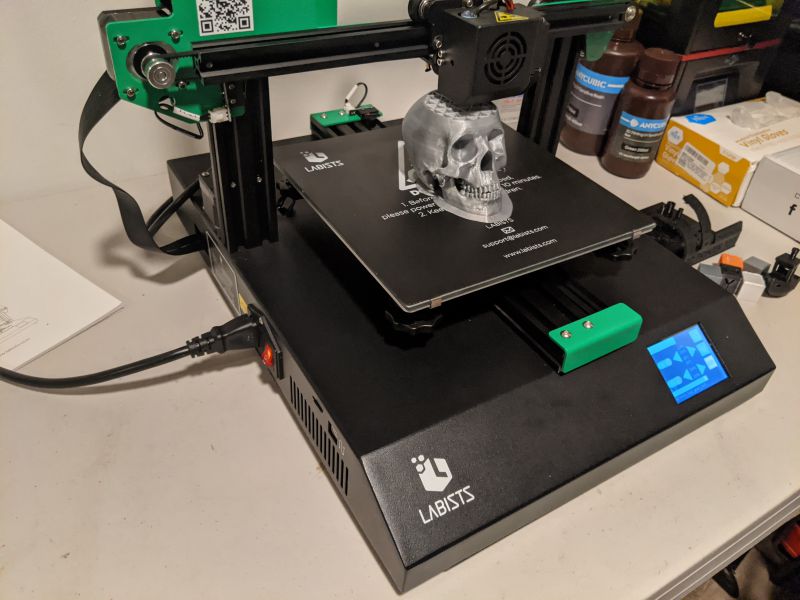
I was really impressed with the quality of the ET4’s prints. There were some minor issues I was able to address by adjusting the printing temperature and speed, but overall the prints came out looking really good.
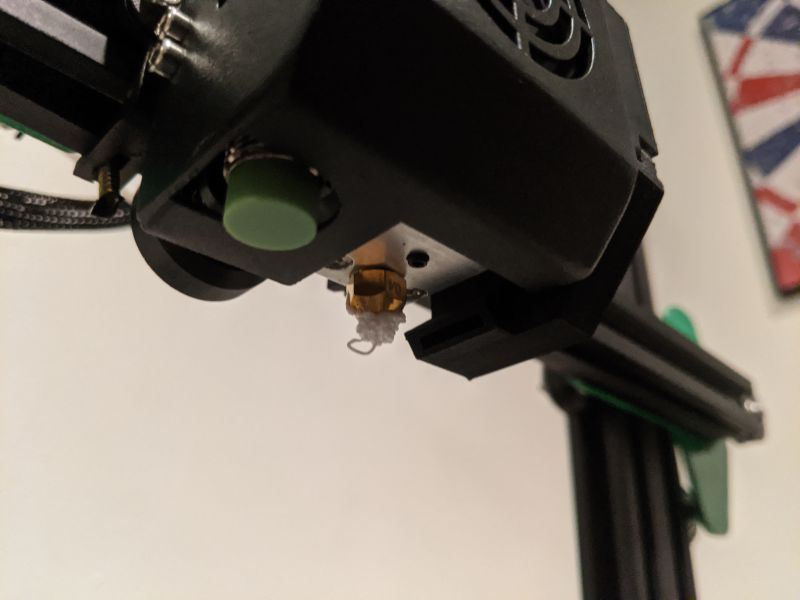
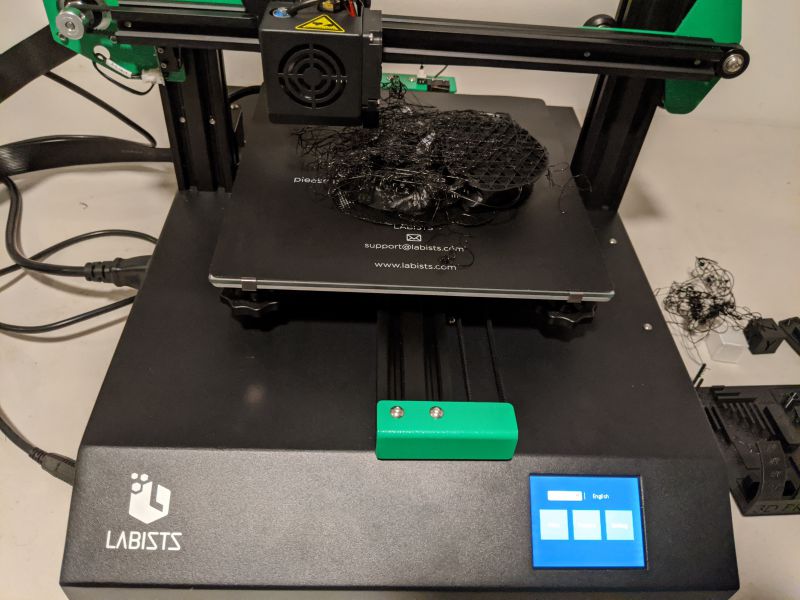
Any issues I had while printing, like the occasional clogged nozzle, had nothing to do with the design of the ET4 and are just endemic to 3D printing.

To really run the Labists ET4 through its paces, I loaded up some black Hatchbox PLA filament and called on that old 3D printing test standby, Benchy the tugboat.
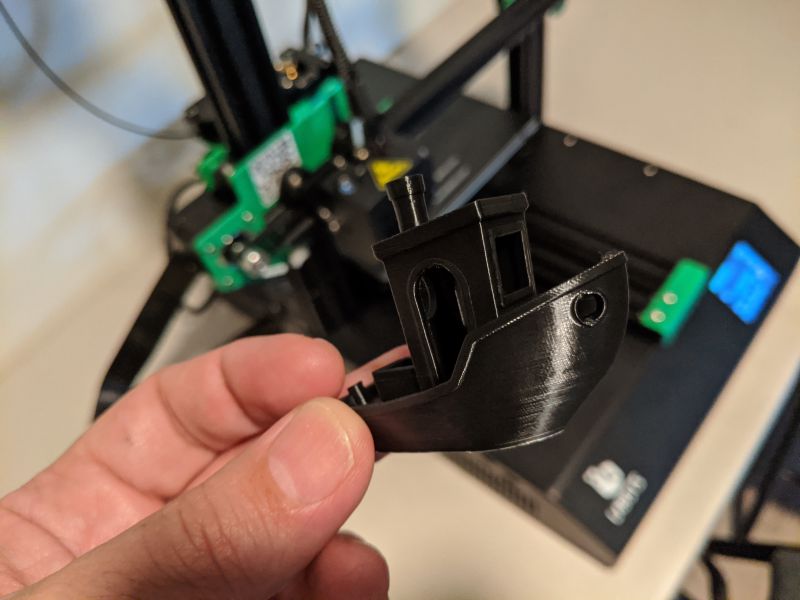
Benchy is used to test 3D printers because the model has a number of features that are challenging for printers to successfully execute. The ET4 knocked it out of the park with only a small defect on the front of Benchy’s portholes. The overhangs and symmetry aspects of Benchy were recreated expertly.
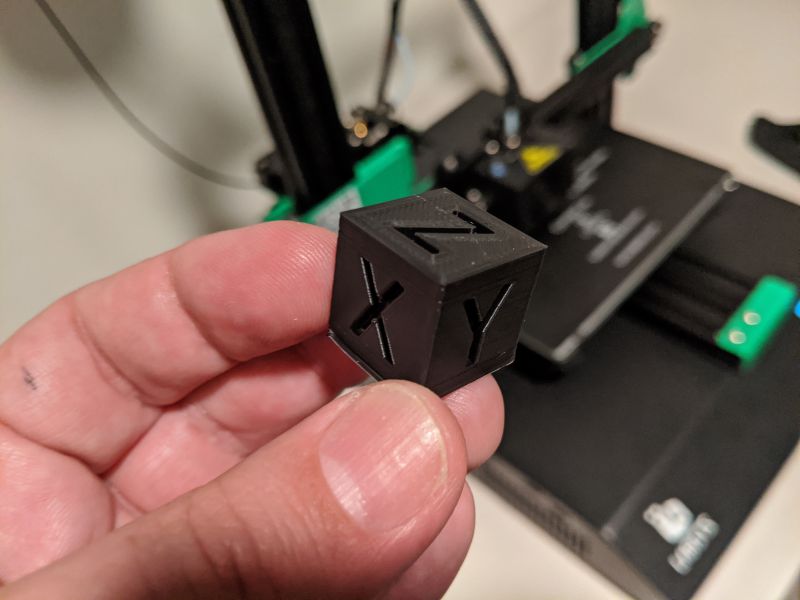
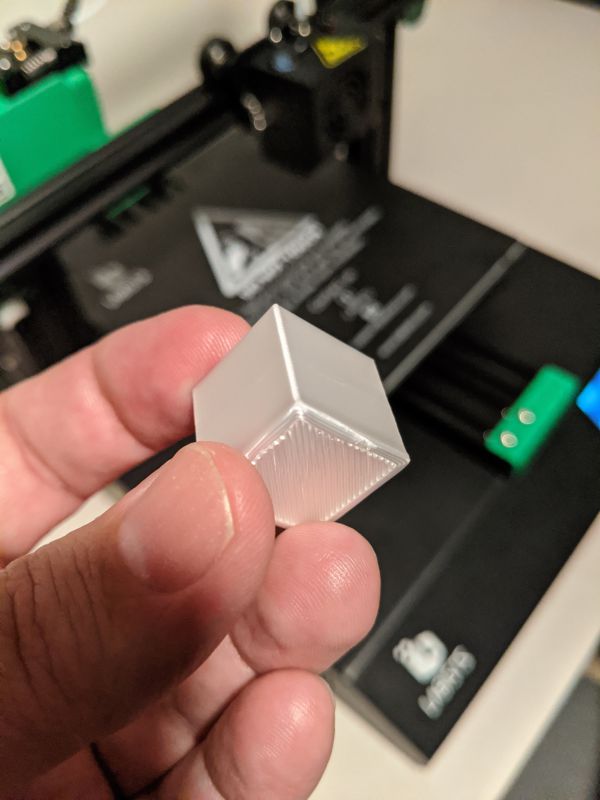
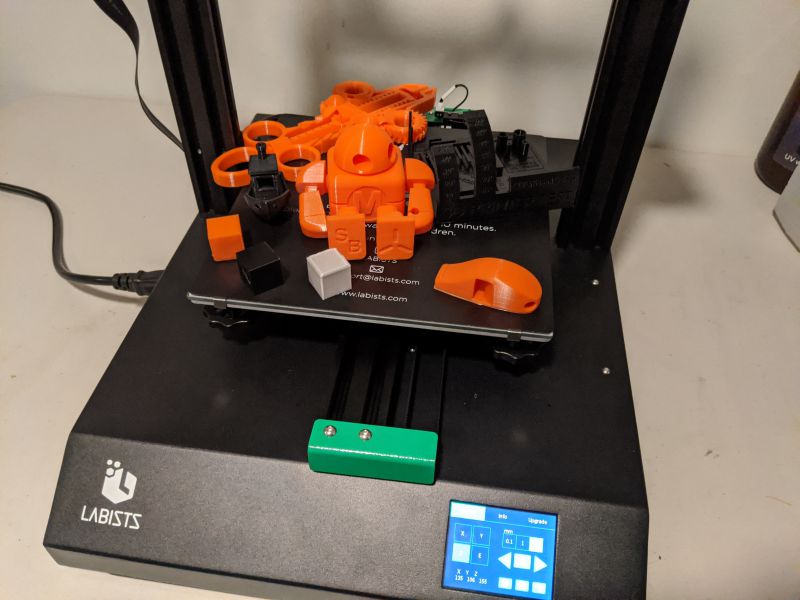
I also tried printing out an XYZ 20mm calibration cube that I often use to calibrate my other 3D printers. The ET4 reproduced the XYZ cube perfectly.

With the basic tests out of the way, I decided to really see what the ET4 could do. I loaded up a massive 3D printer torture test that highlights all of the challenges most 3D printers struggle with.
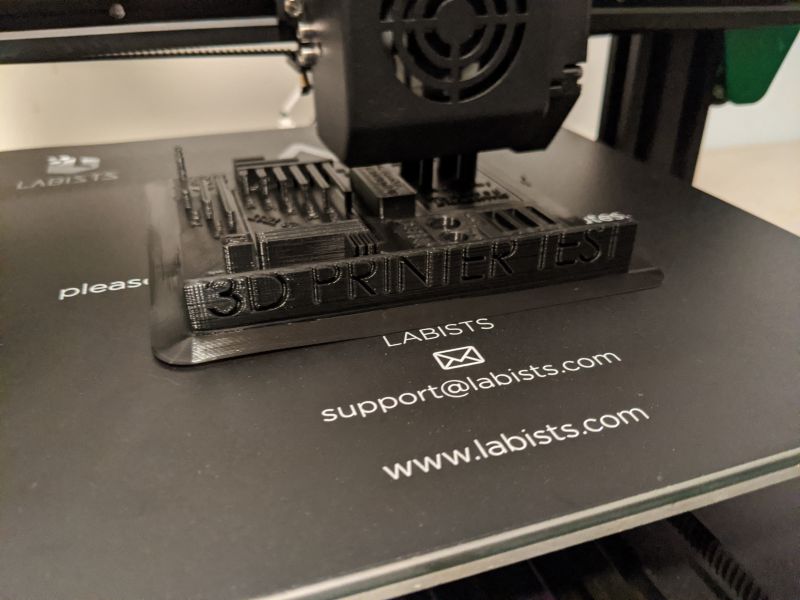
The print took over nine hours to complete, but I was thoroughly impressed with how well the ET4 performed.
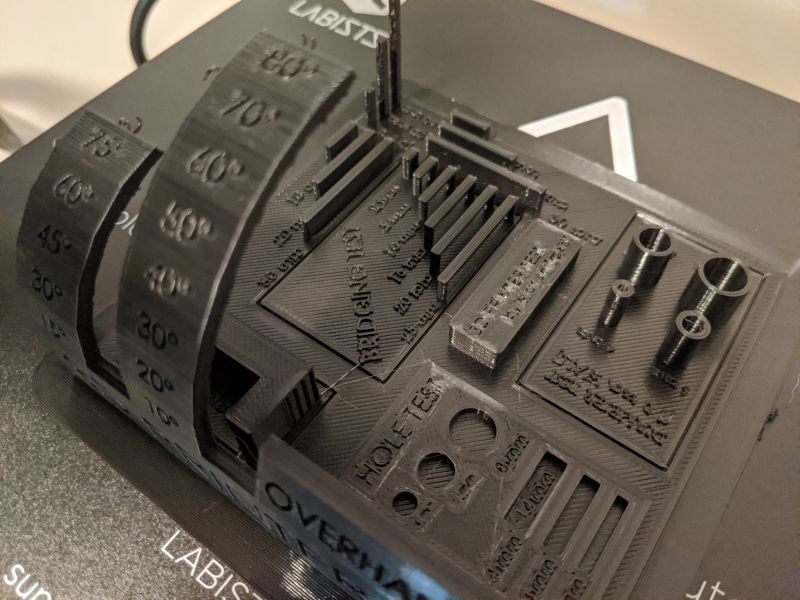
Overhangs angles were clean up to about 70°, which is really impressive, and small details like the bridging tests looked flawless.
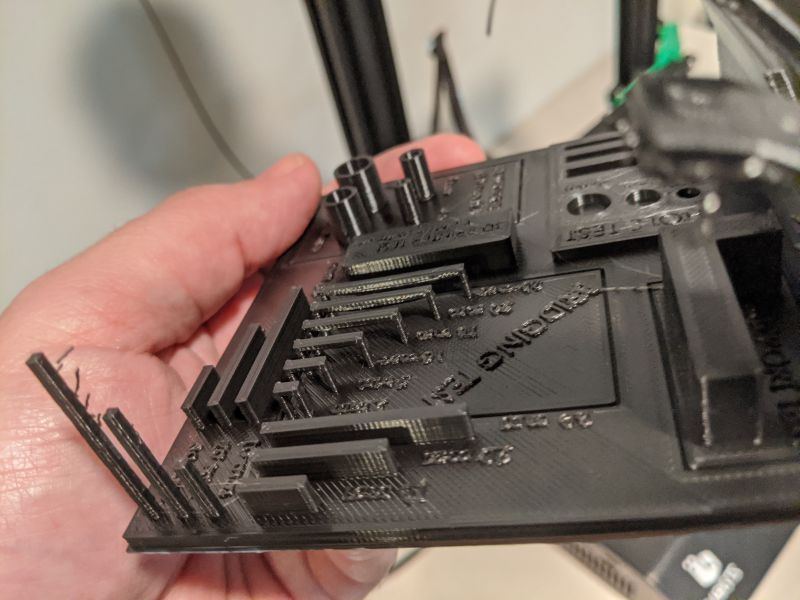
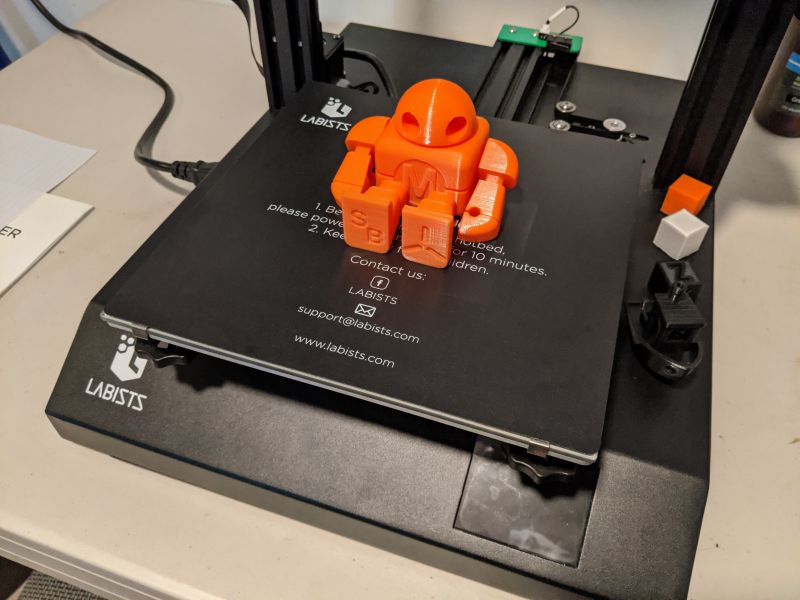
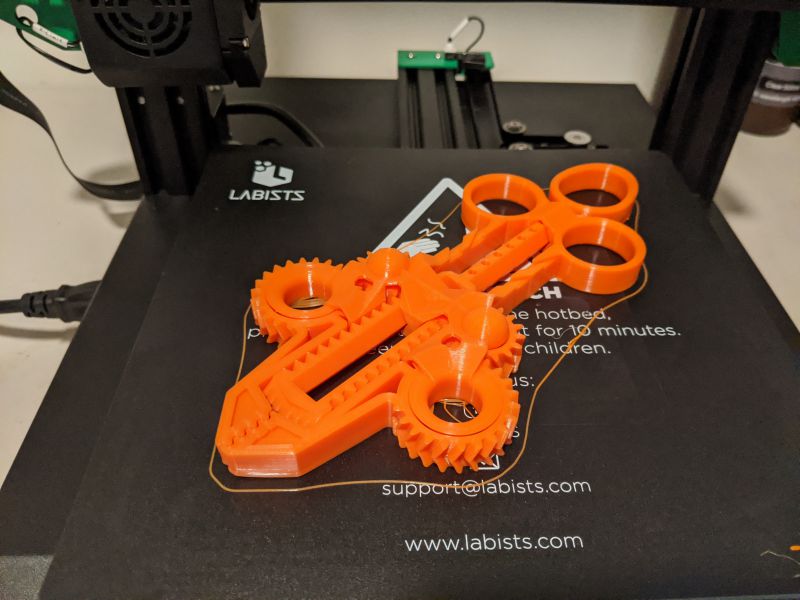
I ran a lot of prints through the ET4 and they mostly all came out great. Of course, there were a few hiccups along the way, but that’s to be expected.
For custom prints, I used Ultimaker Cura for slicing. Cura is the industry standard and recommended by Labists for use with the ET4. Unfortunately, the version of Cura included with the ET4 is quite old, so I had to download the latest version and then work a bit to set up the correct profile for the ET4.
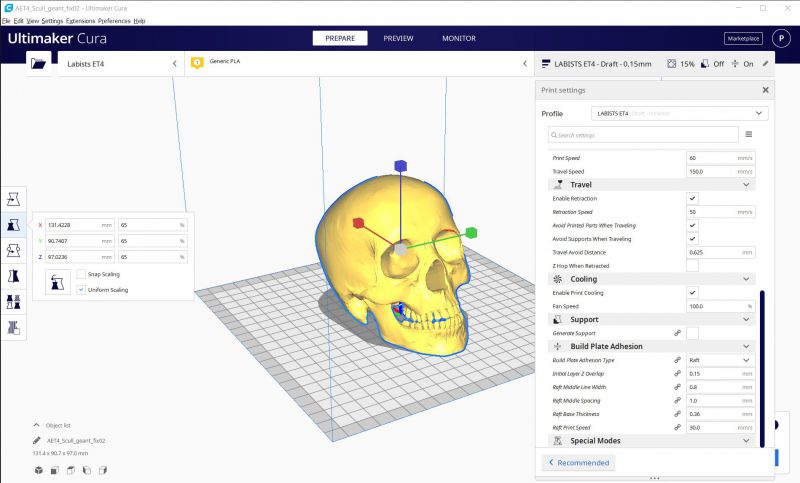
Once I got the settings correct, it was easy enough to slice any models I wanted to reproduce on the ET4.
I executed a ton of great prints on the ET4, which makes my disappointment in Labists’ support all the more frustrating. This is a great printer, but one of the main driving forces for most 3D printing enthusiasts is upgradability. 3D printing, by its nature, is a very DIY community. One of the first things most people do after dialing in the settings for their 3D printer is to print out extra parts FOR their 3D printer. Third-party add-ons like the excellent OctoPrint, which allows you to convert a low-end 3D printer into a network controllable powerhouse, won’t work properly on the ET4 specifically because Labists’ firmware isn’t updated as frequently as the ANET version of the same printer. If the firmware isn’t updated, then features can’t be added, shortcomings can’t be addressed. It defeats the very purpose of purchasing an affordable 3D printer with the hopes of upgrading it yourself.
I’ll continue to use the Labists ET4 as a backup printer, making parts for my other printers or printing out test projects, but it’s a shame that I can’t network it and count on Labists to keep its firmware and functionality up to date.
What I like
- Excellent print quality once properly calibrated
- Solid construction
- Affordable and feature-rich
What needs to be improved
-
- Setup instructions are terrible
- Customer support is appalling
- Unit is not upgradeable or compatible with third-party options like OctoPrint
Final thoughts
The Labists ET4 3D Printer is an affordable entry-level printer. The ET4, once properly set up and calibrated, can produce some very high-quality prints. It has some great features like auto-leveling, broken filament detection, and resume print functionality. At $249.99, it’s priced about the same as similarly featured printers, as well as the identical, but better supported ANET ET4. Taking all of this into consideration though, I honestly cannot find one reason why someone should buy the Labists ET4 over the ANET ET4. The ANET ET4 has better documentation, better support resources, and is backed by a company with a lot of 3D printer history. Anyone looking for a sub $300 FDM 3D printer should skip over the Labists ET4 for other 3D printer manufacturers like ANET.
Price: $249.99
Where to buy: Labists or Amazon
Source: The sample of this product was provided by Labists.
Filed in categories: Reviews
Tagged: 3d printing
Labists ET4 3D Printer review originally appeared on The Gadgeteer on October 24, 2020 at 10:00 am.
Note: If you are subscribed to this feed through FeedBurner, please switch to our native feed URL http://the-gadgeteer.com/feed/ in order to ensure continuous delivery.