How To Use Affinity Photo: Pro Tips & Tutorials for Beginners
Affinity Photo is well-known among designers as one of the best alternatives for Photoshop. But it’s also a very underrated graphics editor that does its job beyond expectation.
Affinity Photo is a great entry point for designers who are looking to start a career in the industry. It’s the only high-end graphics editor that doesn’t cost an arm and a leg. It’s also suitable for professional designers and photographers for designing complex graphics, processing photos, and everything in between.
This software does many things quite well, sometimes even better than Photoshop. In this post, we wanted to highlight some of those great features of this software to show you how amazing Affinity Photo really is.
Photoshop vs Affinity Photo
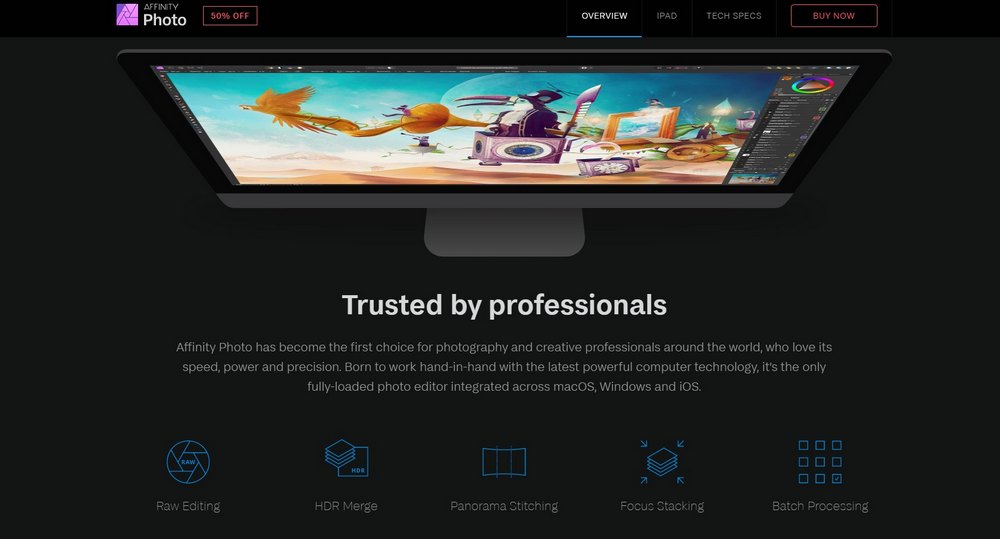
Now, you might wonder why use an alternative when you can use a software like Photoshop that’s been polished and perfected over three decades? Let’s take a closer look.
- Pricing: Photoshop comes with an Adobe Creative Cloud subscription that costs a minimum of $19 a month. Affinity Photo costs a one-time price of $49 and all future updates are free
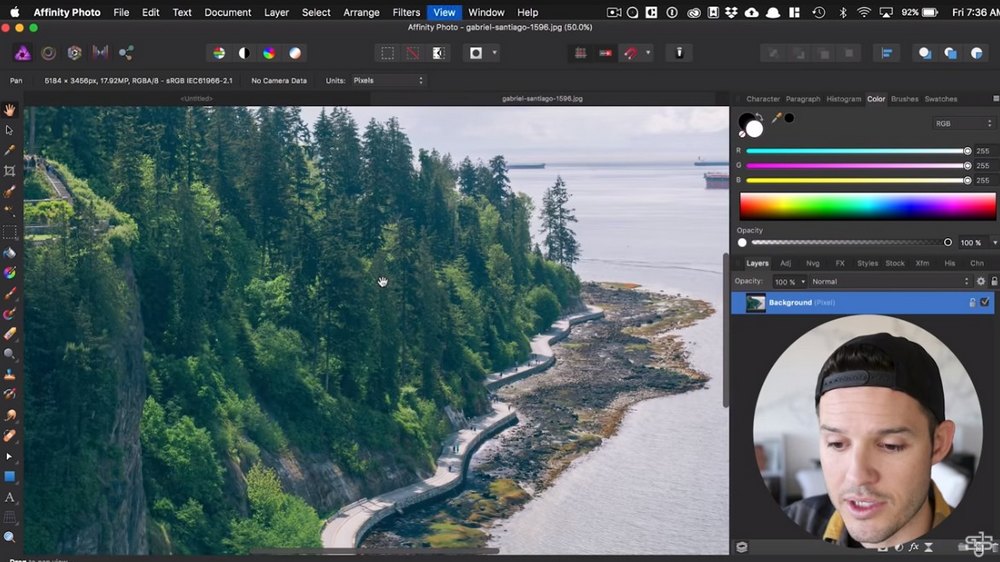
- Ease of Use: The user interface of Affinity Photo is almost identical to Photoshop. It’s very easy to switch from Photoshop or even learn as a complete beginner
- Features: While Photoshop is far superior in terms of innovative features, Affinity Photo has all the main features of Photoshop along with a few additional features you won’t find in Photoshop. The app even supports PSD file format
- Updates: Serif, the developer behind Affinity software releases updates for its apps regularly bundled with new features and improvements, for free!
- Community: Even though the Affinity Photo community is not as big as Photoshop, it’s growing very fast as more people discover its value. We’re starting to see more templates, presets, and resources being developed for Affinity Photo
1. Learn to Use Personas
One of the most unique features in Affinity Photo is Personas. They are like workspaces within the app that allows you to do different editing tasks more easily.
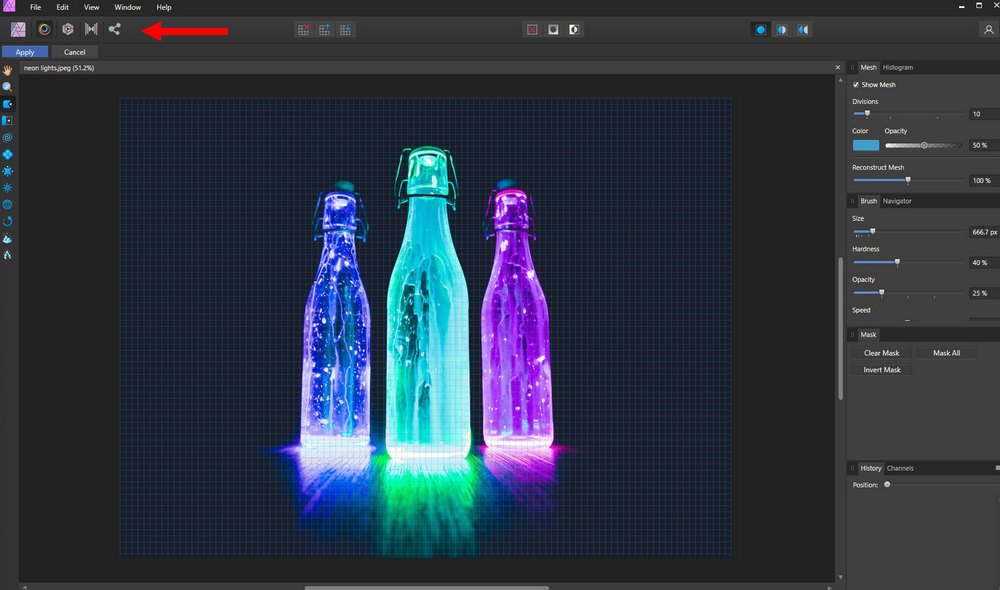
There are 5 different Personas in Affinity Photo:
- Photo – This is the main Persona for doing all your editing and design work
- Liquify – This persona is for mesh distortions
- Develop – A useful Persona for photographers for processing RAW photos
- Tone Mapping – This persona is mainly for HDR 32bit imagery
- Export – This Persona lets you export specific regions of your photos in various formats
Photo, Develop, and Liquify are the three main Personas of Affinity Photo. Learning to work with these Personas will help speed up your workflow and get things done much quicker.
Other personas are mostly useful for photographers and professional designers.
2. Work With the Assitant
The Assistant is another useful feature in Affinity Photo. It’s an AI-powered system that takes care of some of the smaller tasks for you.
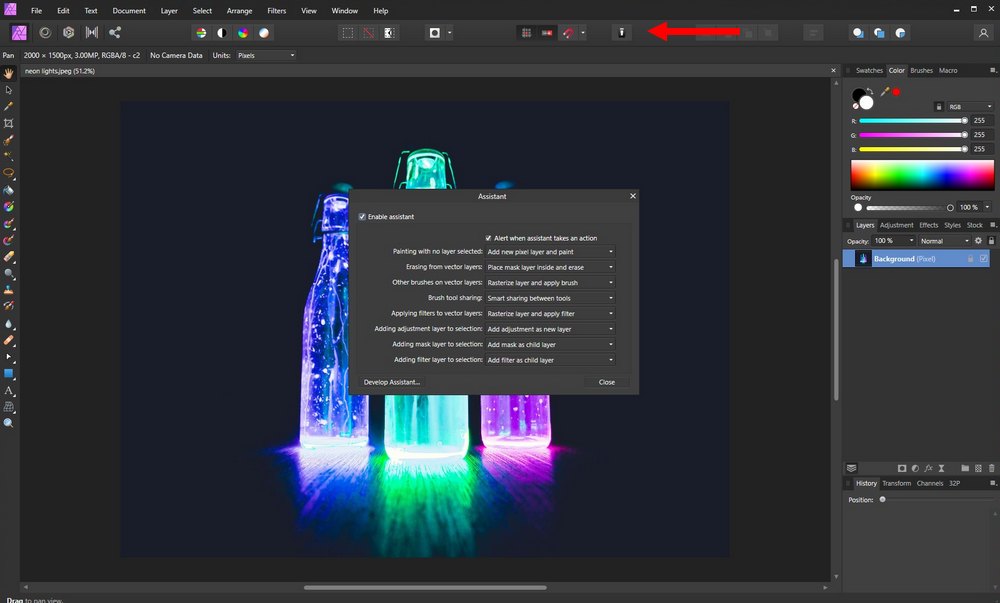
For example, if you start drawing on the canvas without selecting a layer, the Assistant will automatically create a new layer for you. Or when you try to apply a filter to a vector layer, the Assistant will automatically rasterize the layer.
You can easily select different actions for each of the Assistant features and even disable them entirely.
Just as the name suggests, the Assistant will prove quite useful in your work. We’re excited to see what kind of other features Serif will add to the Assitant in the future.
3. Develop Raw Files Directly in AFPhoto
RAW is a very popular file format among photographers. It’s the default file format used in high-end digital cameras and even smartphones now support this format. RAW files capture more details in photos.
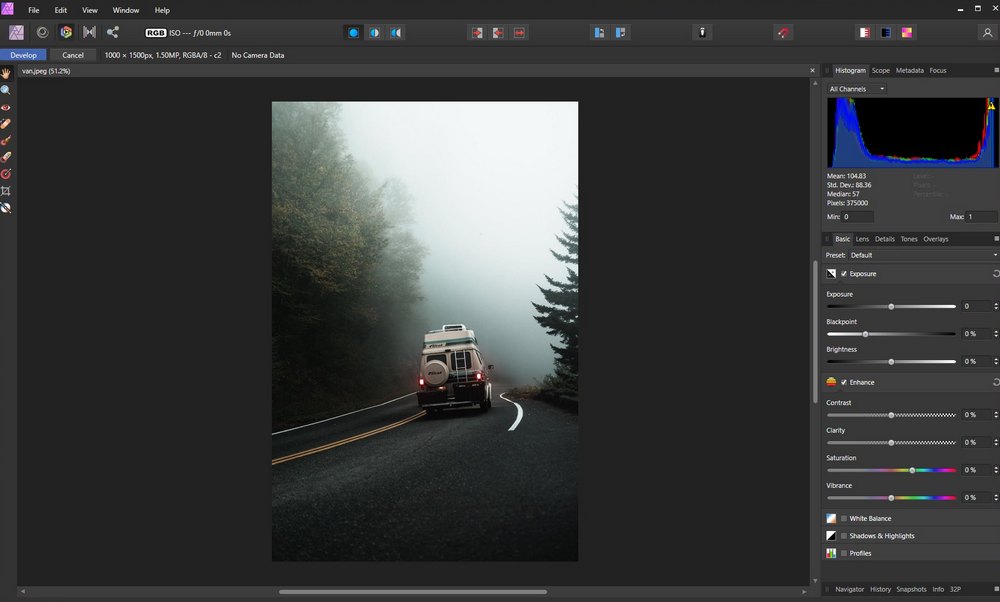
If you also work with RAW files, you should make yourself familiar with the Affinity Photo Develop Persona. It has all the necessary tools and options you need to easily improve RAW photos and process them easily.
In a way, it’s like having a light version of Adobe Lightroom within Affinity Photo.
4. Install Custom LUTs
LUTs (Look Up Tables) are color grading presets commonly used by professionals to easily adjust and improve the color levels of photos and videos.
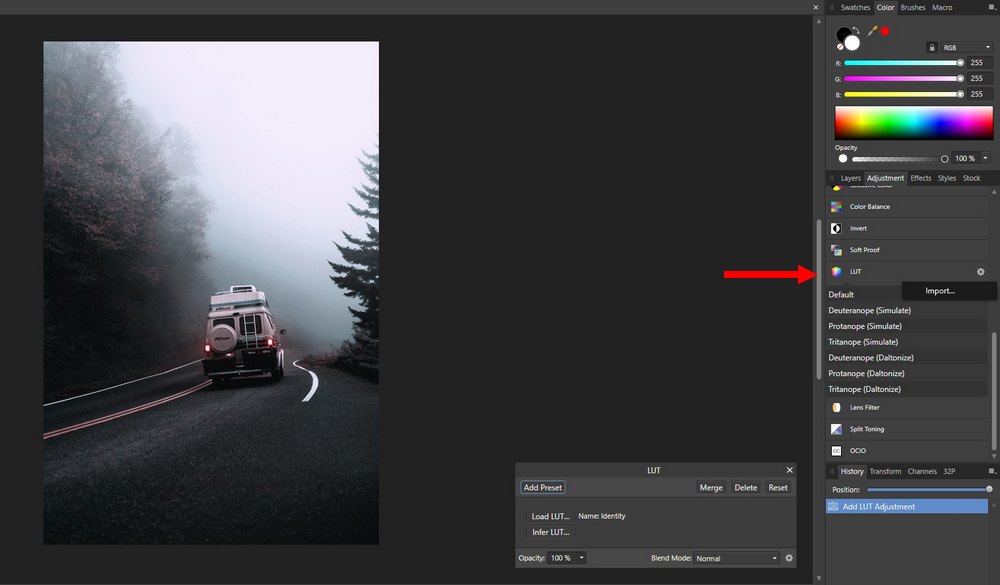
Affinity Photo now has an option that allows you to install your own LUTs to quickly improve your photos and graphics without an effort.
You can add your own LUTs via the LUT section in the Adjustments panel. Click on the Gear icon on the right to import LUTs. You can download high-quality LUTs from Envato Elements.
5. Use Affinity Photo Presets and Macros
Macros are the Affinity Photo version of Photoshop actions. With Macros, you can record your actions to save time and do tasks much faster.
For example, when processing a batch of photos, you can record a Macro for adjusting brightness so that you can run the Macro on other photos to make the same adjustment in just one click.
Just like Photoshop Actions, you can create your own Macros, export them, and import Macros created by others as well.
6. Take Advantage of Fill Layers & Blends
The latest version of Affinity Photo introduced some cool new features like the new Divide blend mode that does wonders for correcting colors in photos.
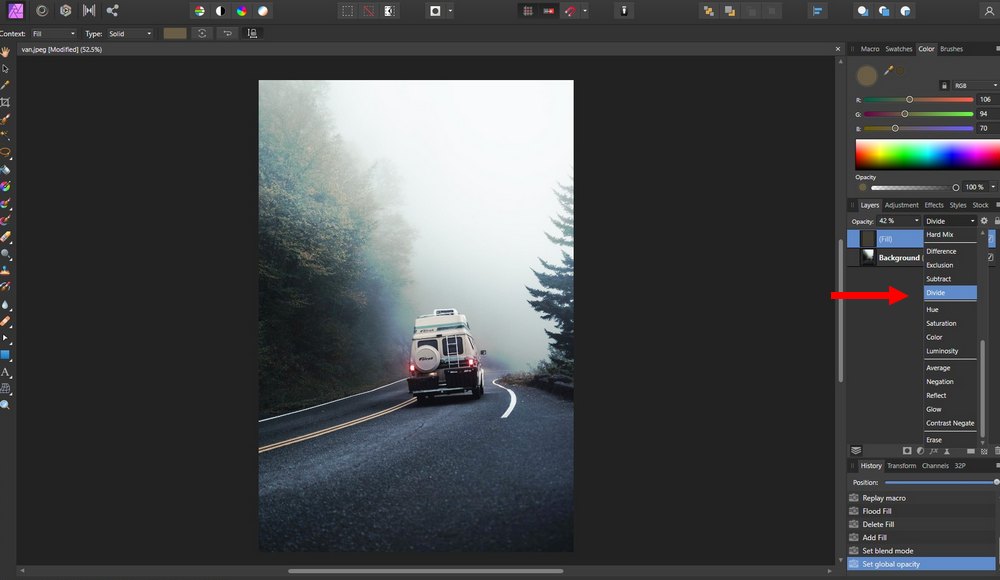
When coupled with a fill layer, the Divide blend mode can instantly enhance photos. To test it out, all you have to do is to use the color picker tool to pick a dominant color in the photo, create a new fill layer with that color, and switch to Divide blend mode.
There are so many amazing things you can do with blend modes in Affinity Photo. Be sure to experiment with them.
7. Make Non-Destructive Edits with Live Filters
Normally when you apply a filter like Gaussian Blur to a photo you can’t edit it afterward. You have to undo the filter and go back to adjust it. Affinity Photo live filters are the solution to this problem.
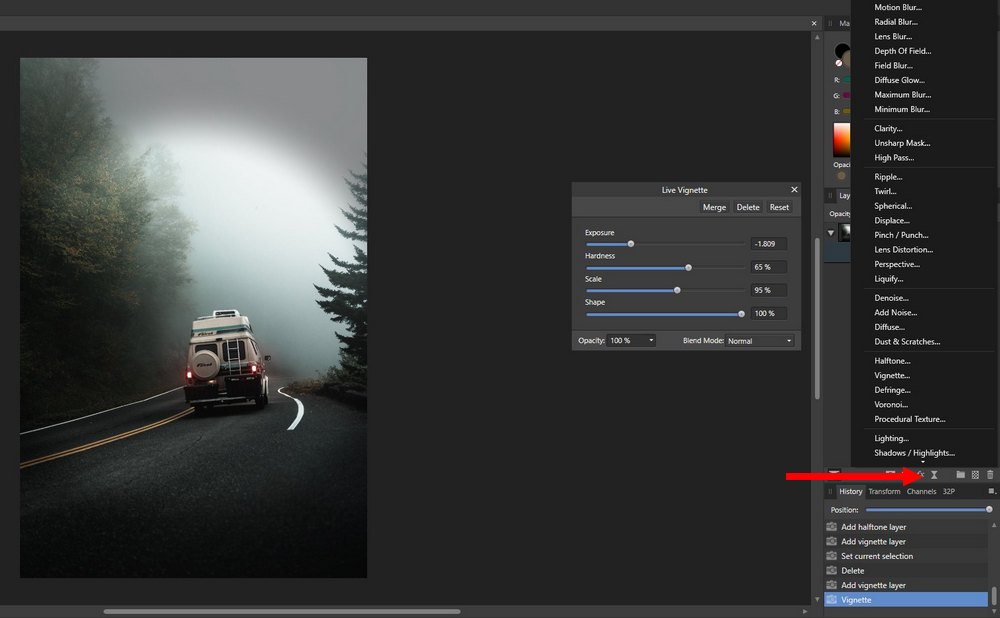
Live filters are like adjustment layers for filters. They allow you to add filters non-destructively and even make adjustments afterward.
8. Create Unique Text Art Using Paths
A newly introduced feature in Affinity Photo allows you to create unique text art using the Pen tool.
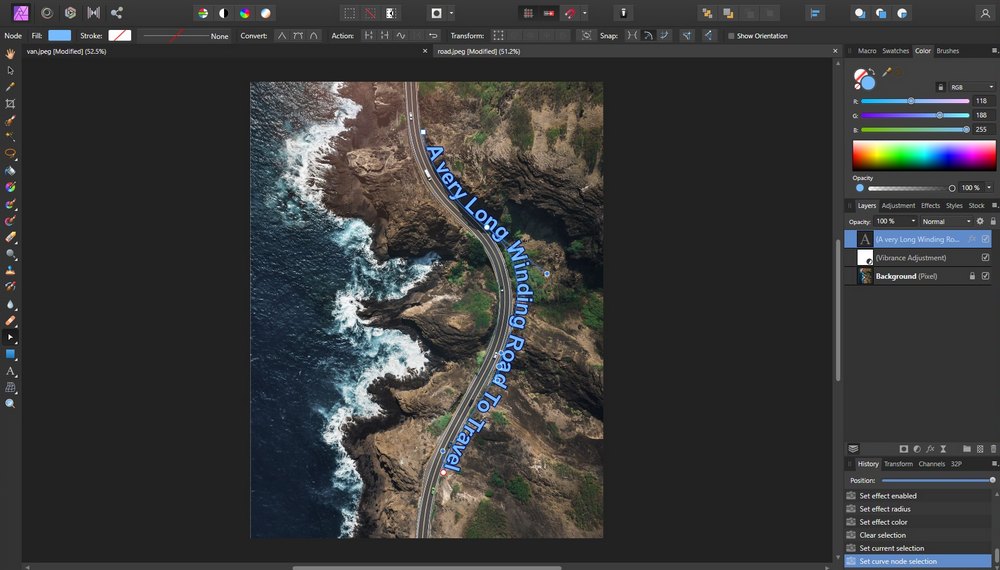
Create a path using the Pen tool and type some text on the path (wait for the icon to change before typing). Now you can control the alignment of the text using the Node tool.
This will give you plenty of freedom to experiment with different text art designs.
9. Creative Masking Tricks
Masks work quite brilliantly in Affinity Photo. For example, the Assistant is capable of automatically adding a mask when you’re trying to erase in a vector layer.
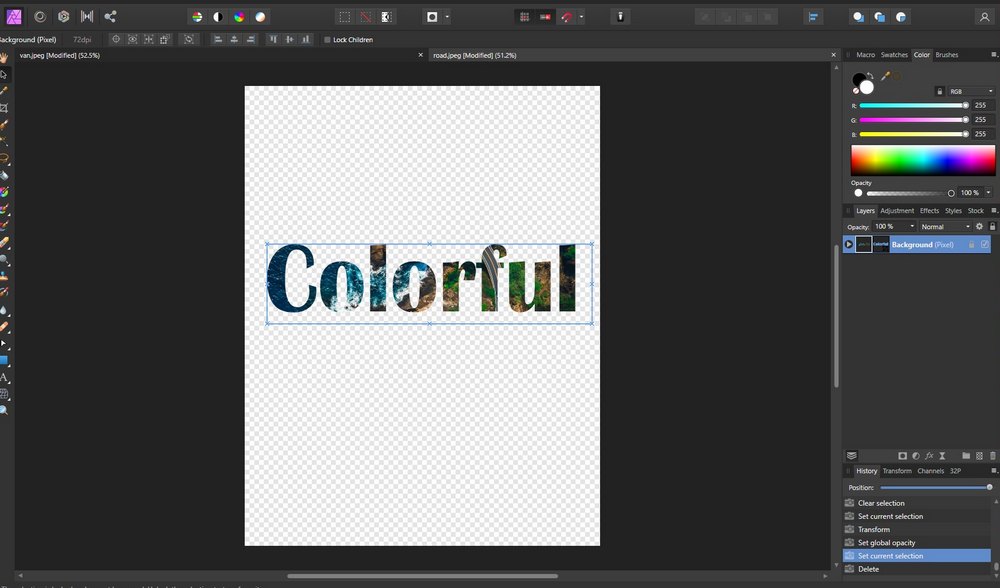
You can also use masks to make creative designs like doing negative-space graphic designs. Test it out by adding a text layer above an image layer and then right-click on the text layer and select Mask to Below.
10. A Few More Quick Tips
Here are a few more short and quick AFPhoto tips to improve your workflow.
- Double-click on a layer to quickly zoom-in on the selected layer
- Use Linked Layers to create objects that can be edited simultaneously
- Go to View >> Resource Manager to switch your embedded files to Linked to be able to carry external resources with the file
- Use Pattern layers to create repeating patterns
- Customize or create your own keyboard shortcuts from the Preferences menu
Affinity Photo Tutorials for Beginners
It does take a bit of practicing to get familiar with Affinity Photo, especially if you switch from an app like Photoshop. Check out these tutorials to make the transition a much smoother experience.
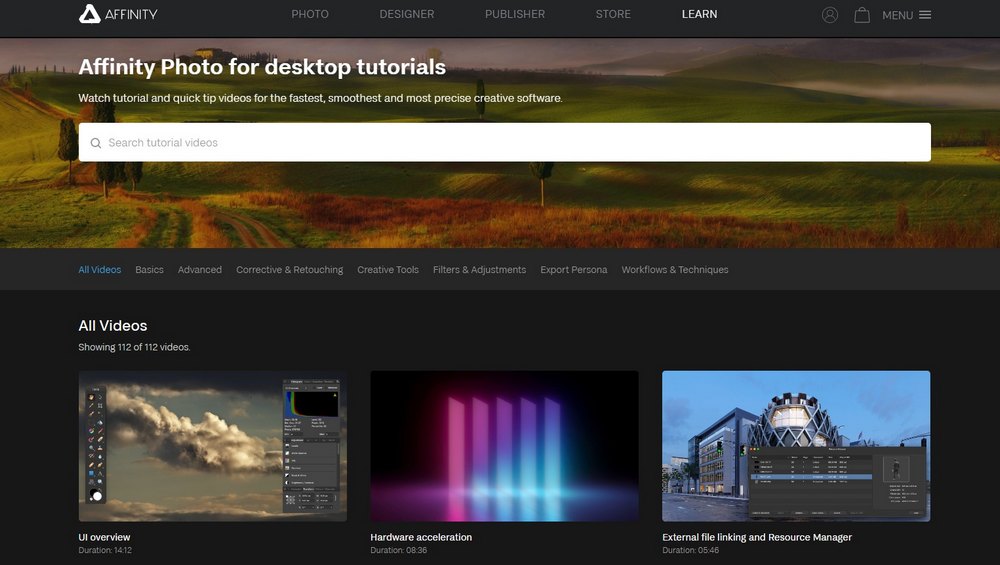
Affinity Photo for Desktop Tutorials
This is an official tutorials page for Affinity Photo. It includes video guides and tutorials covering all aspects of the software from the basics to advanced tools, retouching, personas, and much more.
Affinity Photo – Tutorial for Beginners (YouTube)
This is a quick tutorial that covers many different parts of Affinity Photo in a very concise manner. It includes tips for making various adjustments, improving photos, and much more as well.
Affinity Photo Top 10 Basic Tasks (Video)
This video tutorial includes 10 of the basic tasks of Affinity Photo that you should familiarize yourself with to make the most use out of the app.
Affinity Photo for Beginners: A Quick Start Guide
A simple quick start guide for beginners. This tutorial includes detailed descriptions about using Affinity Photo along with a video version of the tutorial.
Affinity Photo for iPad (Video)
If you’re using the Affinity Photo app for the iPad, this YouTube guide will help you understand the basics of the app in under 20 minutes. It includes tips and hacks for both beginners and professionals.
In Conclusion
Affinity Photo is a graphics editor for everyone. At its affordable price, anyone can afford it to create not just complex graphic designs but even perform basic tasks like enhancing selfies and designing Facebook posts.
Whether you’re a graphic designer or a complete beginner looking for a cheap graphics editor with great features, you should definitely give Affinity Photo a try. It comes with a free trial so you can test it out before buying.
The post How To Use Affinity Photo: Pro Tips & Tutorials for Beginners appeared first on Theme Junkie.


