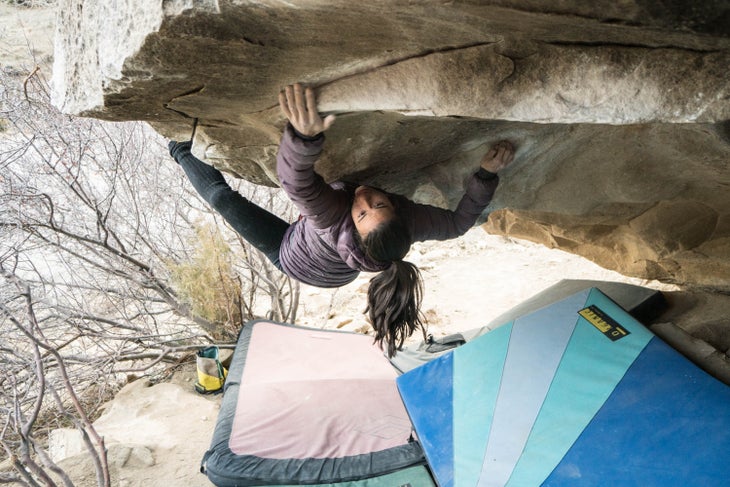
How to Get Better at Bouldering? Learn How to Read the Problems

As someone with a terrible sense of direction, I empathize with the difficulties of route-finding. Staring down a series of chalked holds all facing in different ways can be daunting. In competitions, climbers are given just a few minutes to look at the wall before having to jump on, so efficient problem-solving is crucial. Luckily, most of us won’t have a time limit when it comes to figuring out beta outside, but the faster you can do a climb, the more energy you’ll save for the next.
Figuring out all the moves before stepping onto a problem can be difficult. But, as with all skills, practice makes perfect. The longer you climb, the more you’ll become accustomed to looking at the bigger picture, noticing the small sections, visualizing yourself climbing, and being able to break a route down into small, easily digestible parts.

Look At The Big Picture
To start, look for three markers: the start holds, the finish holds, and the crux. Check out where a problem begins. Will you be sitting, standing, or jumping to the start? Next scope the topout. Will it be a difficult mantel? Do the moves look committing? Finally, study the hold size and configuration at the crux. Smaller crimps or indistinct slopers, combined with distance, could indicate where the difficult parts may be. After that, look for potential rests. Better holds might be a place to shake out.
As you run through these features, make sure to spot any hidden holds along the way. Outdoors, look for chalk marks and boot rubber for clues from past climbers. Indoors, make sure to look around corners and on volumes so as not to miss any jibs. Focus on the handholds during the first round of scoping, then factor in the feet during the second look-through. Think about your body position throughout the process. Using technical tools such as heel/toe hooks, backsteps, kneebars, and flagging might make the sequence easier. Remember that different rock types have their own distinct qualities. Metamorphic granite is quite featured, and may offer an intermediate between big moves. Limestone is known for its hidden pockets. And sandstone, with its 40-grit friction, can offer inobvious smears.
Examine the Small
Next, notice the path between the holds, not the holds themselves. Look at the order of the holds and how their setup might affect the overall movement that will bring you from one body position to the next. Just because a crimp is facing to the right doesn’t necessarily mean you’ll grab it with your right hand. You might shoulder into it with your left as a gaston. Will you close-handed crimp it, or open-handed crimp it? How will you shift into the next moves? It’s more common to lead with your upper body in order to bring your center of gravity closer to the next hold, but sometimes it helps to lead with your feet instead. Try stabbing a foot out and pulling in with your toes to generate extra momentum.
Visualize the Climb
Picture your sequence from start to finish. Imagine you were watching a video of yourself climbing the route. Take into consideration your height, wingspan, and preferred climbing style. What kind of beta might work for you? What beta won’t work? Start by picturing how you’ll hit the holds, and then focus on where your arm will be facing, and then which way your body will turn on each hold. Visualize yourself moving off the holds toward higher grips. Keep in mind where you might need to move faster because of difficulty and where you can move slower.
Total Body Climbing: Use All Your Parts for Smart, Savvy Climbing
Break It Down Further
Once you’ve tried the problem, work it in sections to break down mini-moves within the larger sequence. Start with the hardest moves first and work into the easier ones. Once you’ve figured out all the moves, start linking the sections together. One way to approach this is to lowpoint the problem. Start at the top sequence and climb to the finish. Then start a little lower. When you’ve climbed that part, start a little lower again. Regardless of where the crux is, you’re building confidence for the end of the problem as you work way down toward the opening sequence. If your beta isn’t working, or if it feels improbable, think of a few different solutions to try instead. Think outside your own style-box. If you’re usually a static climber, add some oomph with dynamic force. If you’re the jumping type, try locking off slow. Don’t forget about holds you may have written off as useless at the beginning. Small adjustments in beta open all sorts of doors for new sequences down the line. Maintain an open mindset and continue to take every potential hold, movement, and sequence into consideration.
Ready to step up your bouldering? Nina Williams and Climbing Magazine developed an online course:
Intro to Bouldering
Learn how to boulder with our four-part online Intro to Bouldering class, with tips on key equipment, bouldering and spotting safety, and technique.
The post How to Get Better at Bouldering? Learn How to Read the Problems appeared first on Climbing.

