

Dakboard smart display review – Build a DIY always on wall display
REVIEW – How do you keep track of things that need to be done? Do you use a task or to-do app on your phone or computer? Do you use a physical notebook? I use both of those methods and have just added a third tool to my productivity toolbox – a Dakboard.
What is it?
A Dakboard is a Raspberry Pi computer with the Dakboard OS that is paired with a monitor that can be customized to display information that you need to see. For me, I have it set up to show 3 different Google calendars so that I can always glance over and see what’s next on the Gadgeter’s schedule, my schedule, and Jeanne’s schedule because the display is on all day and is constantly updated with any changes that I make or she makes.
What do you need?
You can buy a ready-made Dakboard CPU from Dakboard.com and connect to an existing monitor, or you can buy a Dakboard monitor that has a built-in Dakboard CPU. Or, if you’re the adventurous DIY geek, you can just buy a standard Raspberry Pi and set it up with an existing monitor, which is the route that I took because I didn’t want to spend $399.99 for their ready to go 24-inch wall display.
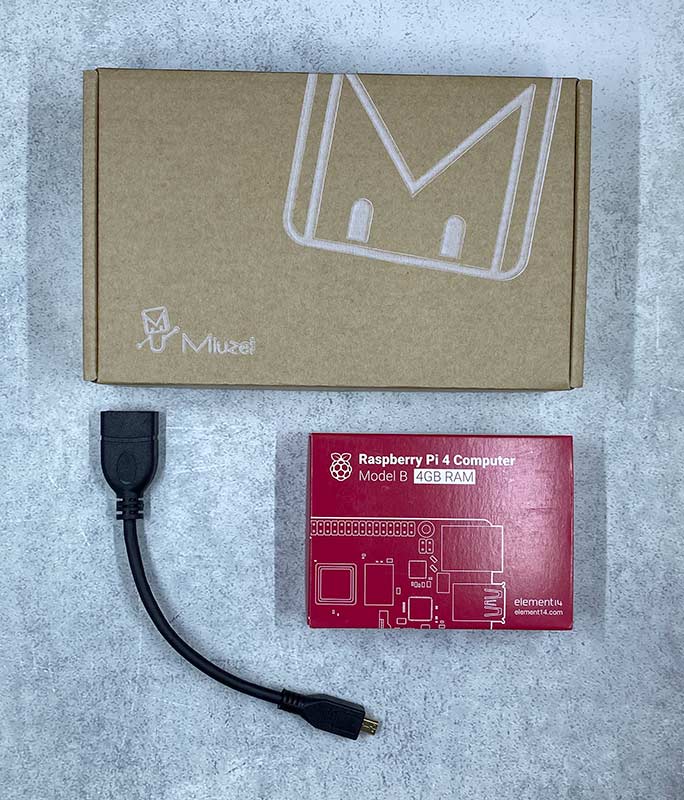
I ordered a Raspberry Pi 4, a Miuzei case, and a short HDMI to mini HDMI adapter from Amazon.
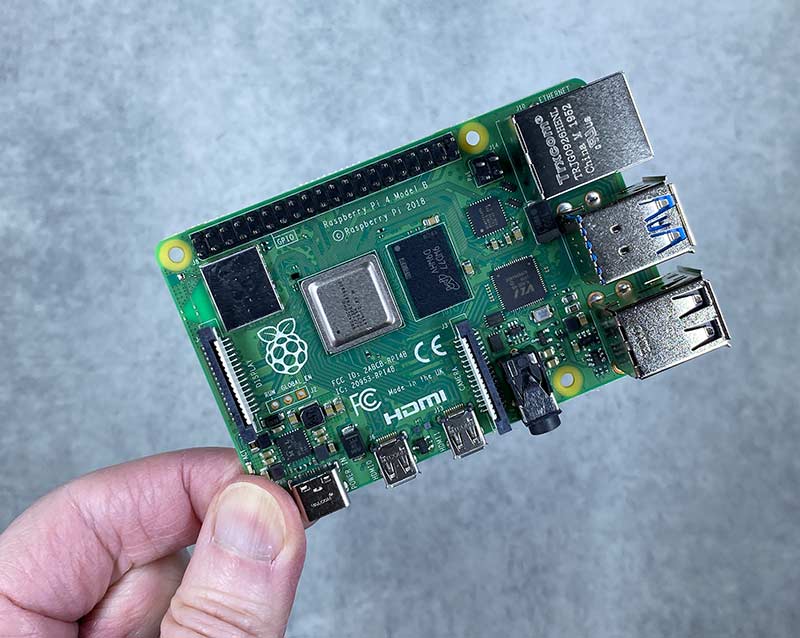
Here’s the brain for the whole project, the Raspberry Pi 4.
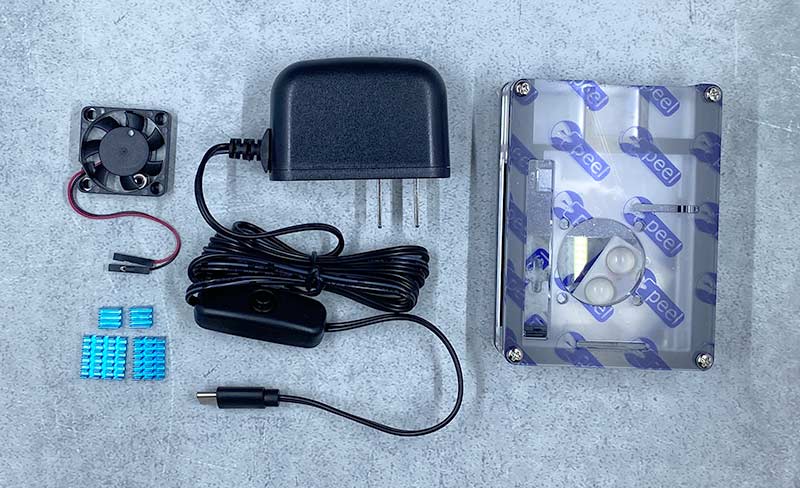
Here is the Miuzei case which also comes with a fan and an AC adapter.
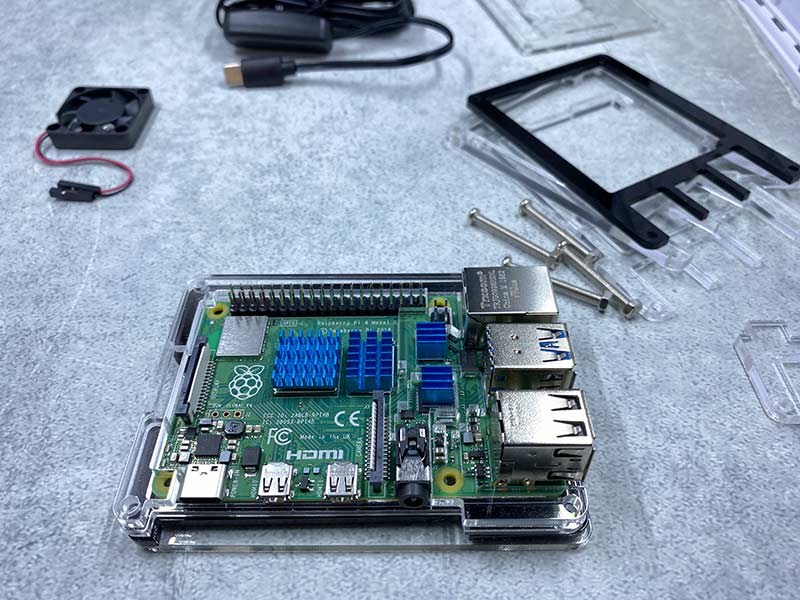
Building the Raspberry Pi 4 computer in the case let me relive fond memories of building PCs which I haven’t done in years. I find it really relaxing and fun to build stuff like this and the Miuzei case is simple and easy to put together.
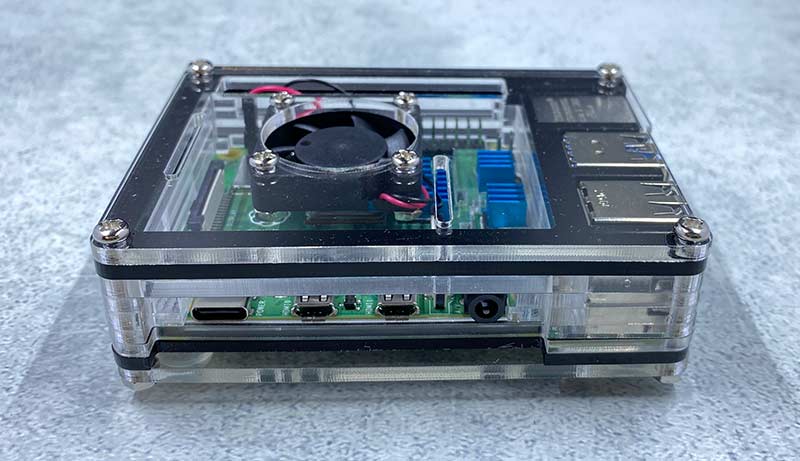
Here’s the finished Raspberry Pi 4 in the clear case. It has easy access to the ports on the side…
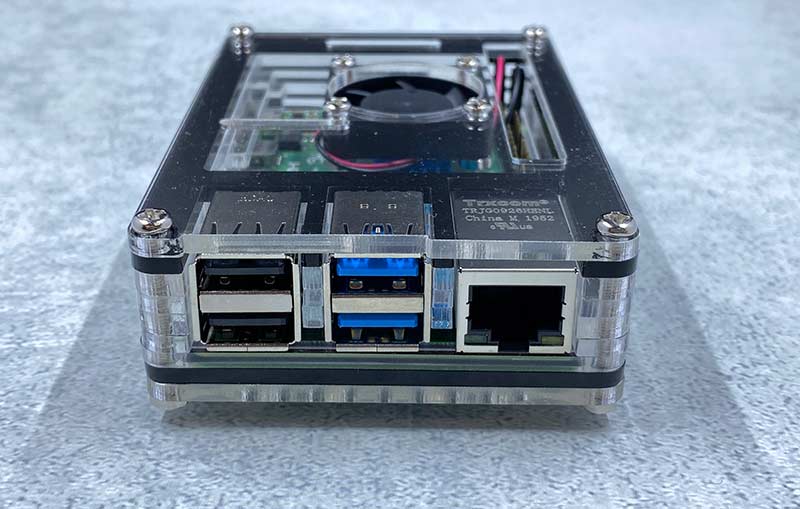
…and more ports on the other side. But for my purposes, I just need the power connector and the mini HDMI port.
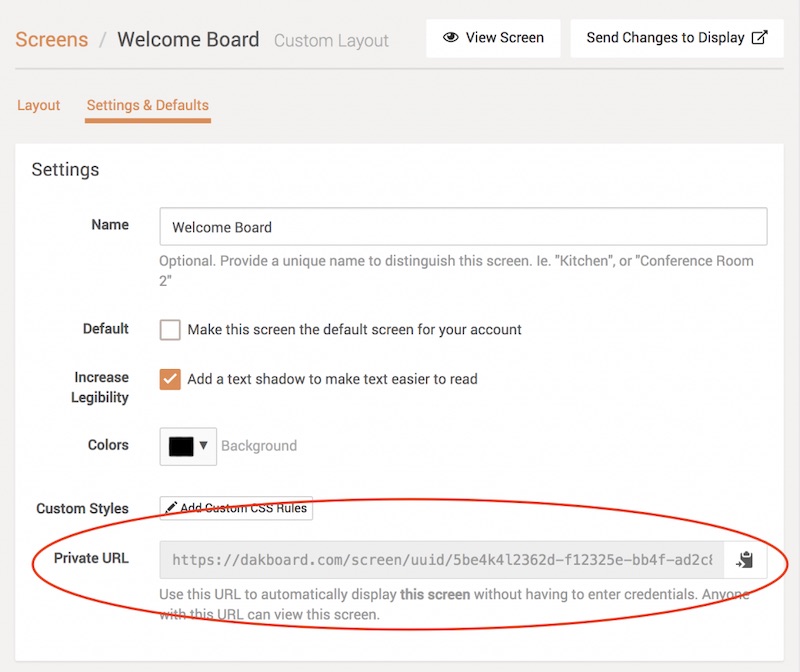
The first step you need to do is to create a Dakboard account so that you can get your private URL for your smart display.
The next step is to install the Rasberry Pi OS onto the Raspberry Pi computer. You’ll need a micro SD card for this step and you can follow the instructions that are on the Raspberry Pi website. You’ll need to create the image of the OS on the micro SD card using an imaging program. Don’t worry though, it sounds harder than it is and all the info is on the Raspberry Pi site and Dakboard’s site.
After you have the Raspberry Pi OS image on the micro SD card, insert it in the micro SD card slot on the Raspberry Pi and connect the Raspberry Pi 4 to a monitor with an HDMI cable, a keyboard to the USB port, and a mouse to another USB port. Turn it on and you’ll be greeted with your Dakboard.

You can customize what you see on the display by going to dakboard.com on another computer and using the screen editor.
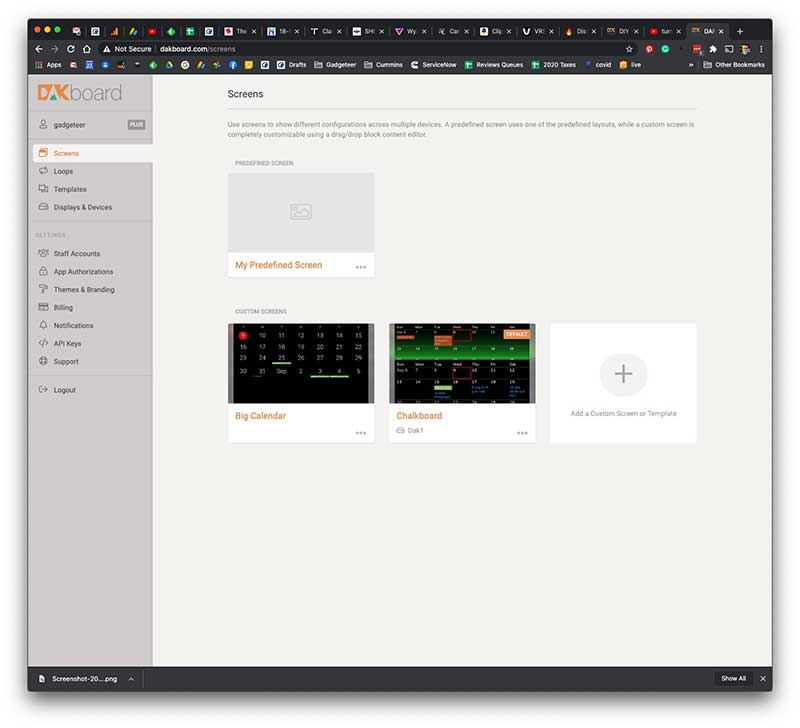
From there you can see and create more screens (depending on your pricing level).
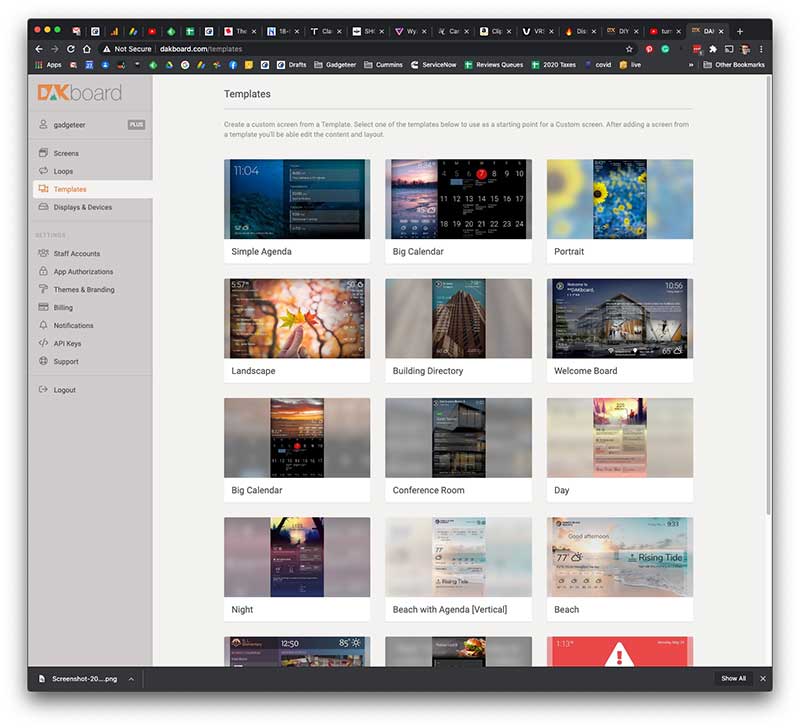
If you don’t want to figure out how to create a screen from scratch, you can use one of the premade templates. FYI: if you’re using the free Dakboard account, you can only choose from these templates – you won’t be able to create one of your own with a free account.
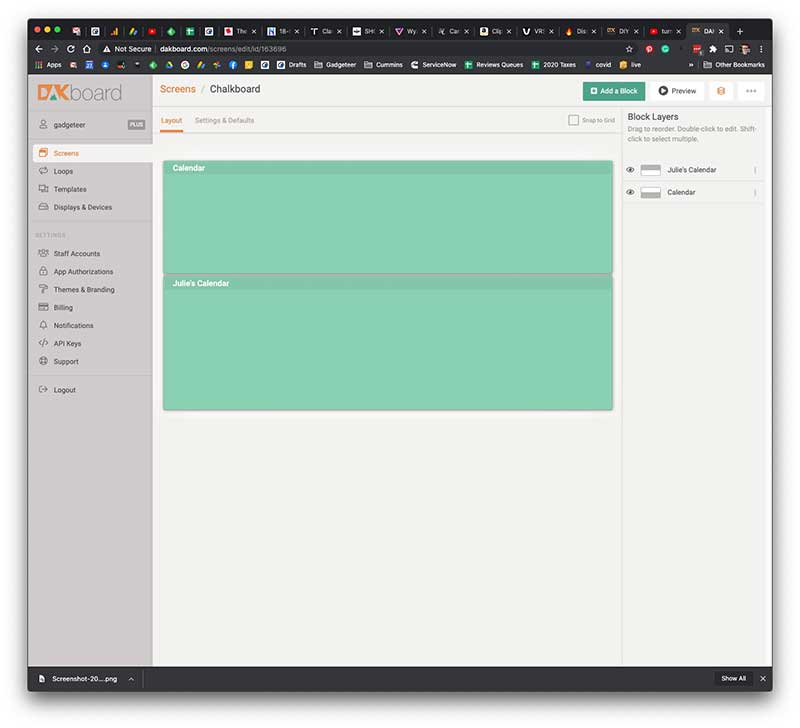
But I think creating your own is more fun. The block editor is pretty much drag and drop.
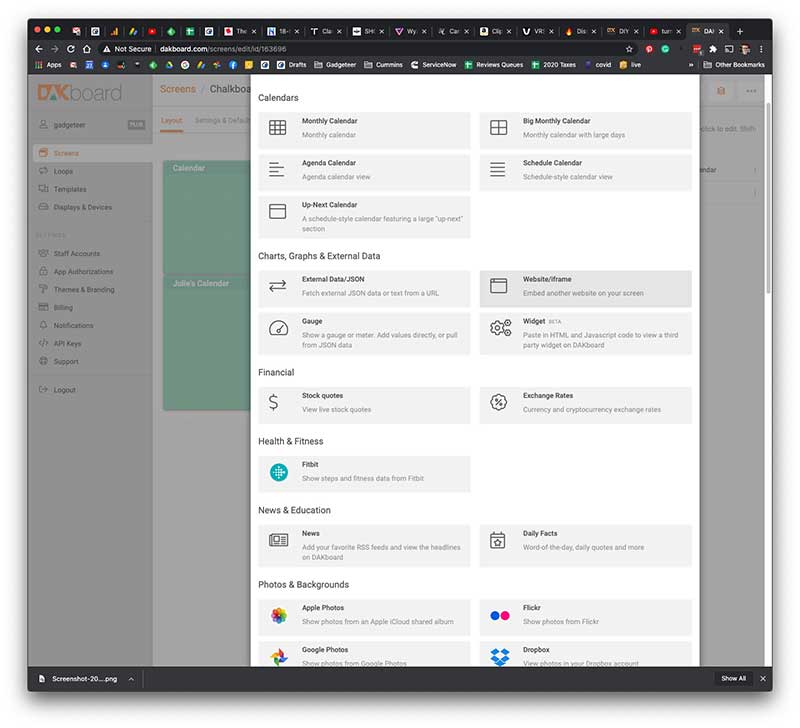
I use my Dakboard to display multiple Google calendars, but you can display all kinds of other info from stock market tickers, headline news titles, videos, your photos, and more.
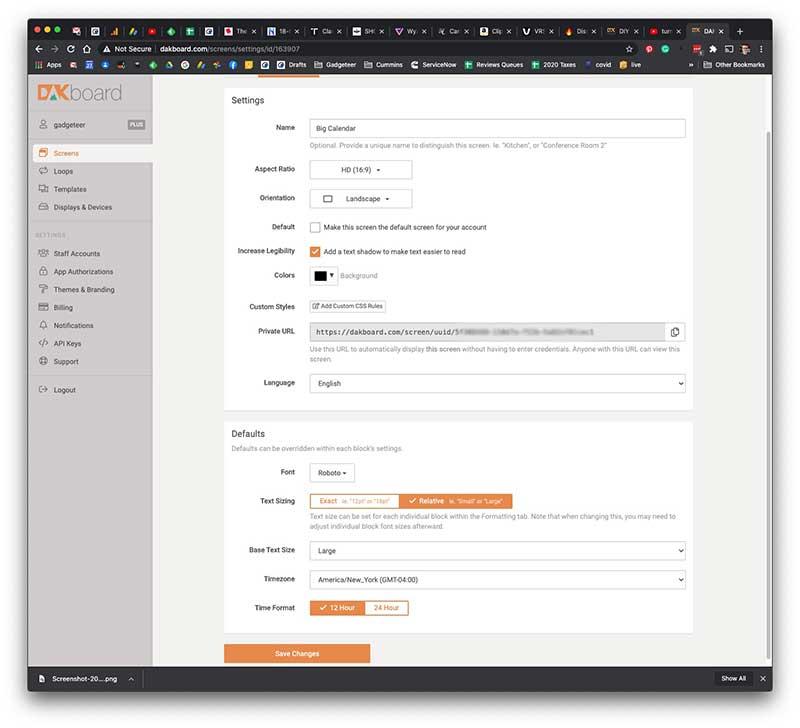
Each block can be customized with different colors, fonts, etc.
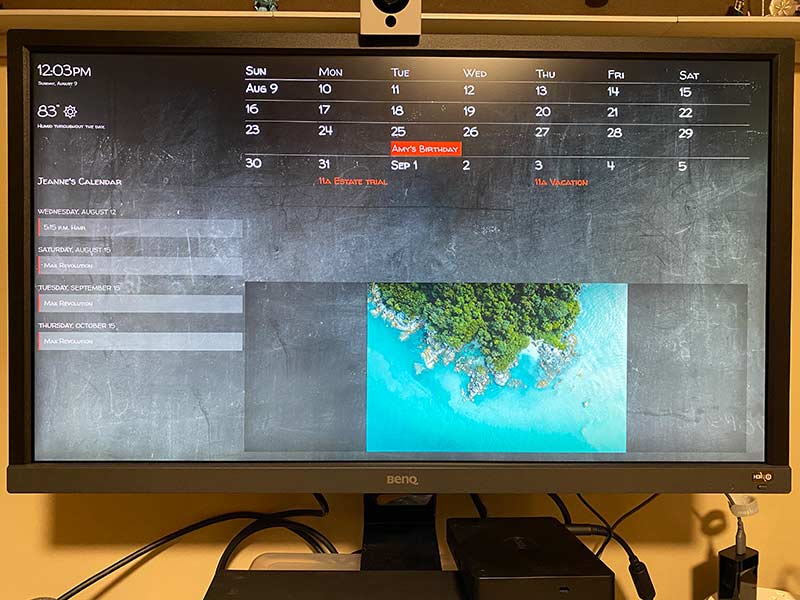
Here is one example of a screen that has a clock, weather, and calendar along with a photo on the left side that updates every minute from a library of online photos.
Here was my first attempt at building my own screen.
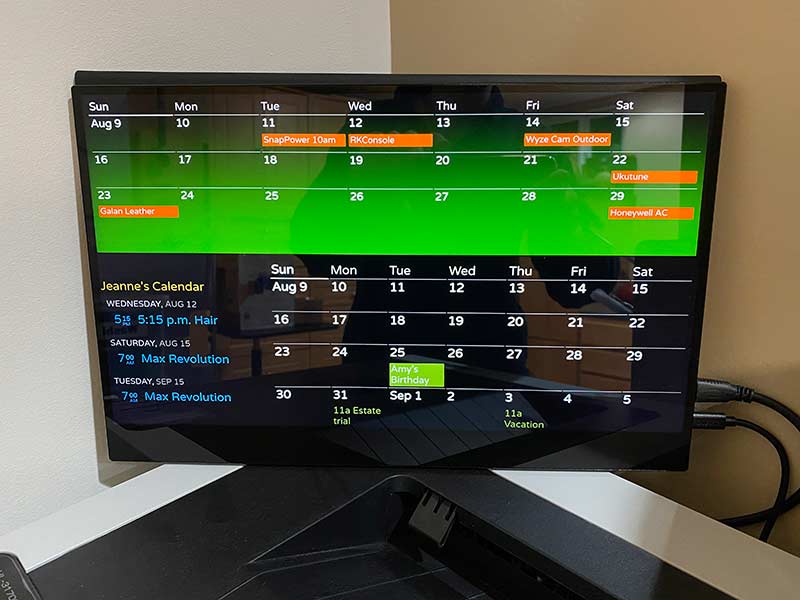
And then I updated it again to get rid of the clock and weather and just show only the info that is important to me. The display updates every few minutes so it’s always up to date no matter if I make a change to my calendar on my laptop or my phone.
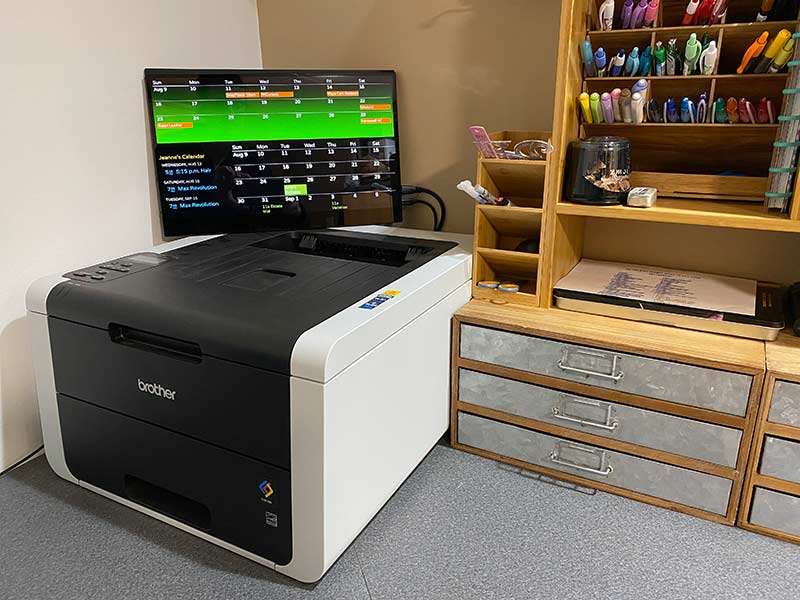
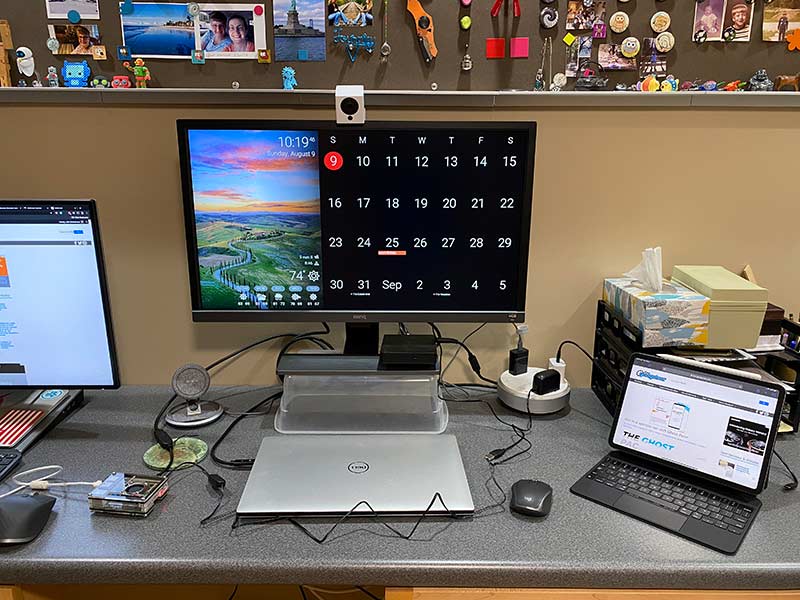
For the monitor, I used the Viotek LinQ USB-C monitor that I’d reviewed last year and propped it up on my Brother laser printer in the corner of my office. I like using this smaller 16-inch monitor because I didn’t need to put it on my desk or mount it on the wall due to the size.
I have mine set up to turn on at 5:30am (that’s when I get up -YAWN-) and go off at 9:30pm each night as I think there’s no reason to have it on if I’m not going to be looking at it.
I love that the Raspberry Pi runs silently even though the little case I bought for it has a built-in fan.
Dakboard is free for one screen with predefined layouts. If you want to go custom as I did, you will have to subscribe to their service. Pricing depends on how many screens you want but for 2 screens and the ability to customize, it’s $5/month and it’s even cheaper when you pay by the year instead of the month.
What I like
- Fun DIY project
- A fun way to use a Raspberry Pi and an extra monitor
- Easy to configure/customize
What I’d change
- Better step by step instructions for non-techies
Final thoughts
If you have a Raspberry Pi and an extra monitor laying around and also like DIY projects, building a Dakboard is a lot of fun and you actually end up with a useful gadget out of the project. If you already have the components, you can do the project for free, but if you need to buy the Raspberry Pi and want a more elaborate Dakboard or Dakboards, it can get a little pricey.
Price: A pre-built Dakboard desk or wall display is $399.95, pre-built Dakboard CPU is $129.95
Service is free for one screen, but the price goes up if you want more screens and advanced customization options.
Where to buy: Dakboard, Amazon
Source: The samples for this review were purchased with my own funds.
Filed in categories: Reviews
Tagged: Do-It-Yourself, Home Automation, Raspberry Pi
Dakboard smart display review – Build a DIY always on wall display originally appeared on The Gadgeteer on September 28, 2020 at 1:10 pm.
Note: If you are subscribed to this feed through FeedBurner, please switch to our native feed URL http://the-gadgeteer.com/feed/ in order to ensure continuous delivery.